Some months ago, lessons learned from my previous adventures with managing summer cooling in the passive solar building where the Lab calls home sent me down a rabbit hole in the opposite direction: maximizing thermal gain in the winter time!
One of the main trade-offs with traditional passive solar design lies in the sizing of the south-facing windows. On the one hand, the more glazing a building has, the more solar heat it can capture and store on sunny days. On the other hand, when night falls, even the most efficient modern windows have a tiny fraction of the insulation value of an insulated wall. So, even when somewhat mitigated by insulated blinds, a wall of windows dumps a great deal of heat back outside.
A key question is whether the amount of solar heat captured during the day is, on net, greater than the heat lost by having windows rather than walls. Fortunately, a 2018 article by Robert Opaluch on GreenBuildingAdvisor.com crunches the numbers on this, with Burlington, Vermont as one of the cities analyzed. By his reckoning, south-facing windows show a net energy gain of approximately 42% after accounting for glazing losses. This makes passive solar here marginally worth it, though a far cry from places like Denver, Colorado, where the net is 75%.
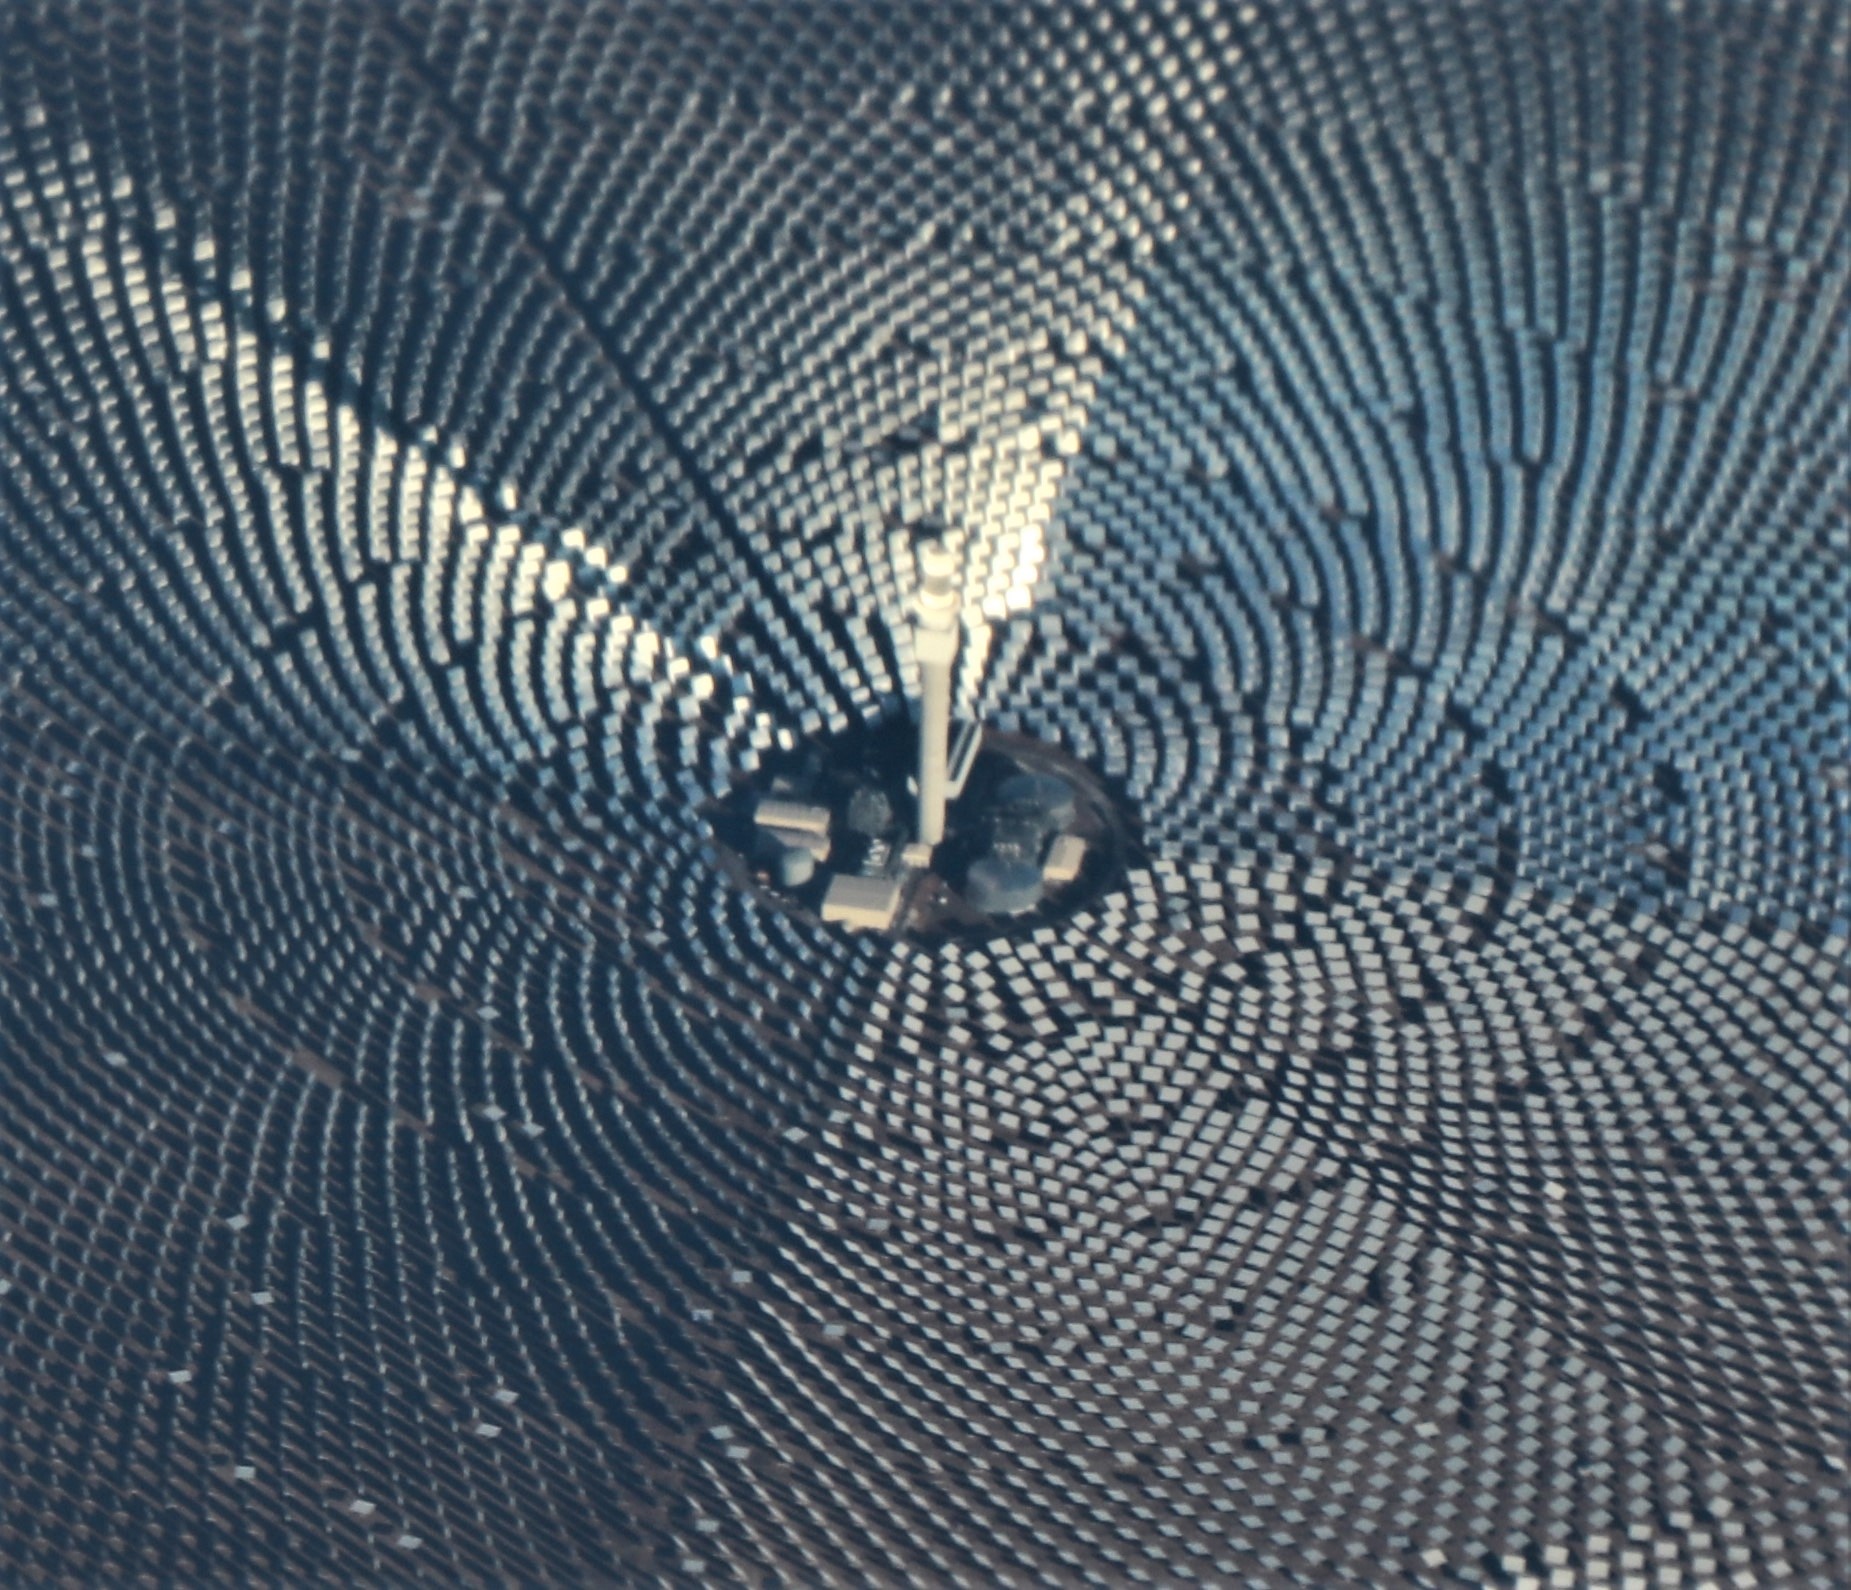
However, what if it were possible to increase the amount of sunlight going into a south-facing window without increasing the window size? This question led me to start learning about heliostats. The concept of using mirrors to redirect sunlight to useful places goes back at least to ancient Egypt, where manually adjusted heliostats were used for temple lighting. In modern times, the most iconic examples take the form of solar thermal power plants, where thousands of mirrors surround and heat a central tower to generate electricity.
My first thought was around using a heliostat to turn a north-facing window into (energy-wise) a south-facing one. Poking around online reveals a good number of DIY projects, including Arduino control software, and there are a few high-end heliostats available on the consumer market. Intriguingly, there was a company in the early 2010s that marketed an aesthetically nice sunflower-shaped one, but they seem to have not gotten very far.
So, I engaged a few of my fellow Lab B members on the idea of designing a low-cost heliostat that could be largely constructed from salvaged and easily procured materials (generally aligned with Appropriate Technology principles). However, as we got into the specifics, we identified a number of challenges, including:
- Wind. A heliostat’s effectiveness is directly proportional to its flat surface area (with direct sunlight delivering approximately one kilowatt per square meter). However, that flat surface also has the potential to become a sail in windy weather. So, it would be necessary to over-engineer the tracking mechanism and/or procure a specialized mirror with holes to allow wind through, both of which would increase costs beyond our target range.
- Battery Temperature. Our goal was for a design that could operate off-grid, powered by a small PV panel and battery. However, as the purpose of the heliostat is as a winter heater, it needs to be designed for exposure to the extreme cold of northern Vermont, and we didn’t identify any optimal batteries that could handle the conditions without increasing the cost and complexity of the unit beyond our specifications.
So, while I’d still love to see a cheap, simple, easily replicable heliostat design to light up the north side of my house, we decided to pivot to a simpler but related idea: “extenders” for south-facing windows that can be mounted and removed seasonally with minimal or no permanent hardware. While there are many examples of architectural light-shelves redirecting light already inside a building’s envelope, I could find few examples of the mirrors mounted outside the window aside from a consumer product offered by this French company.
The core concept is that, by mounting a mirror roughly perpendicular to the bottom of a south-facing window, it reflects sunlight that would have fallen on the insulated exterior of the building through the window instead. With the right sized mirror and mounting hardware, the functional “size” of the window for solar gain calculations could be increased by almost 50%, potentially providing Burlington, Vermont windows with Boulder, Colorado performance!
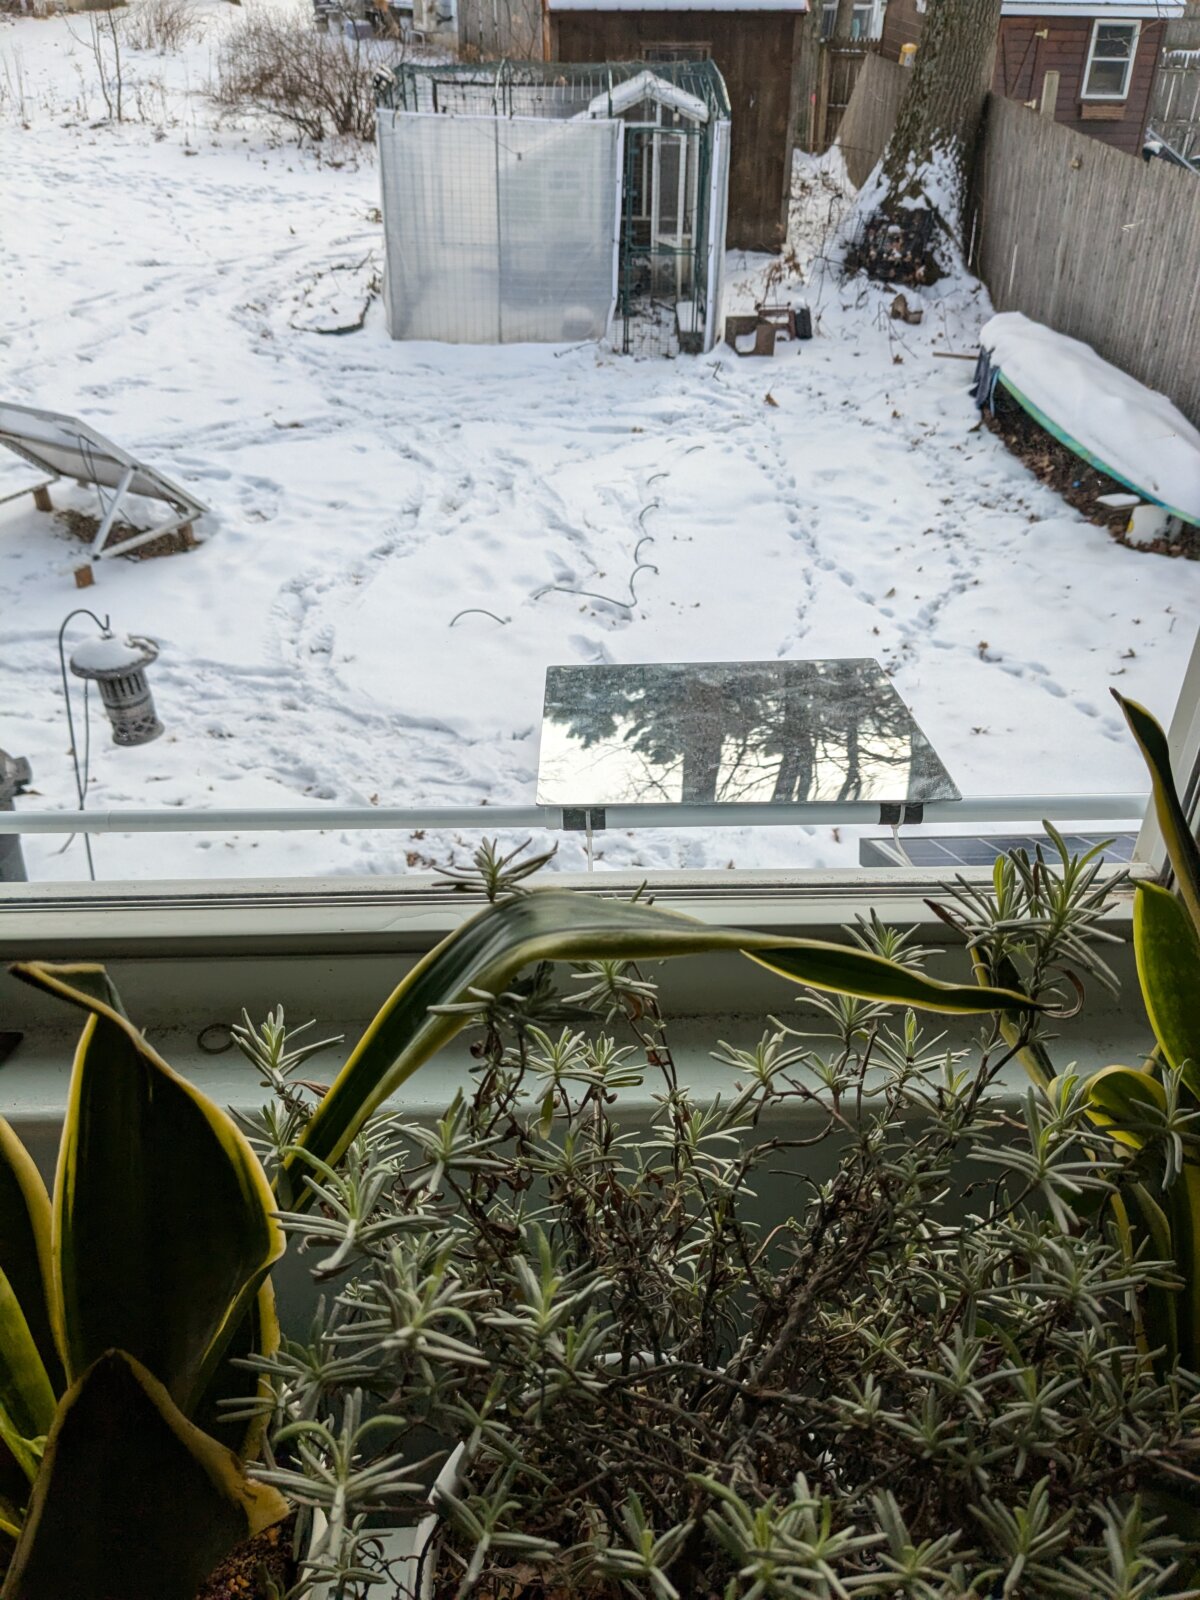
To test this out, I ordered some cheap self-adhesive acrylic mirrors, stuck them to a scrap piece of plywood, and clamped it to the exterior sill of a south-facing window.
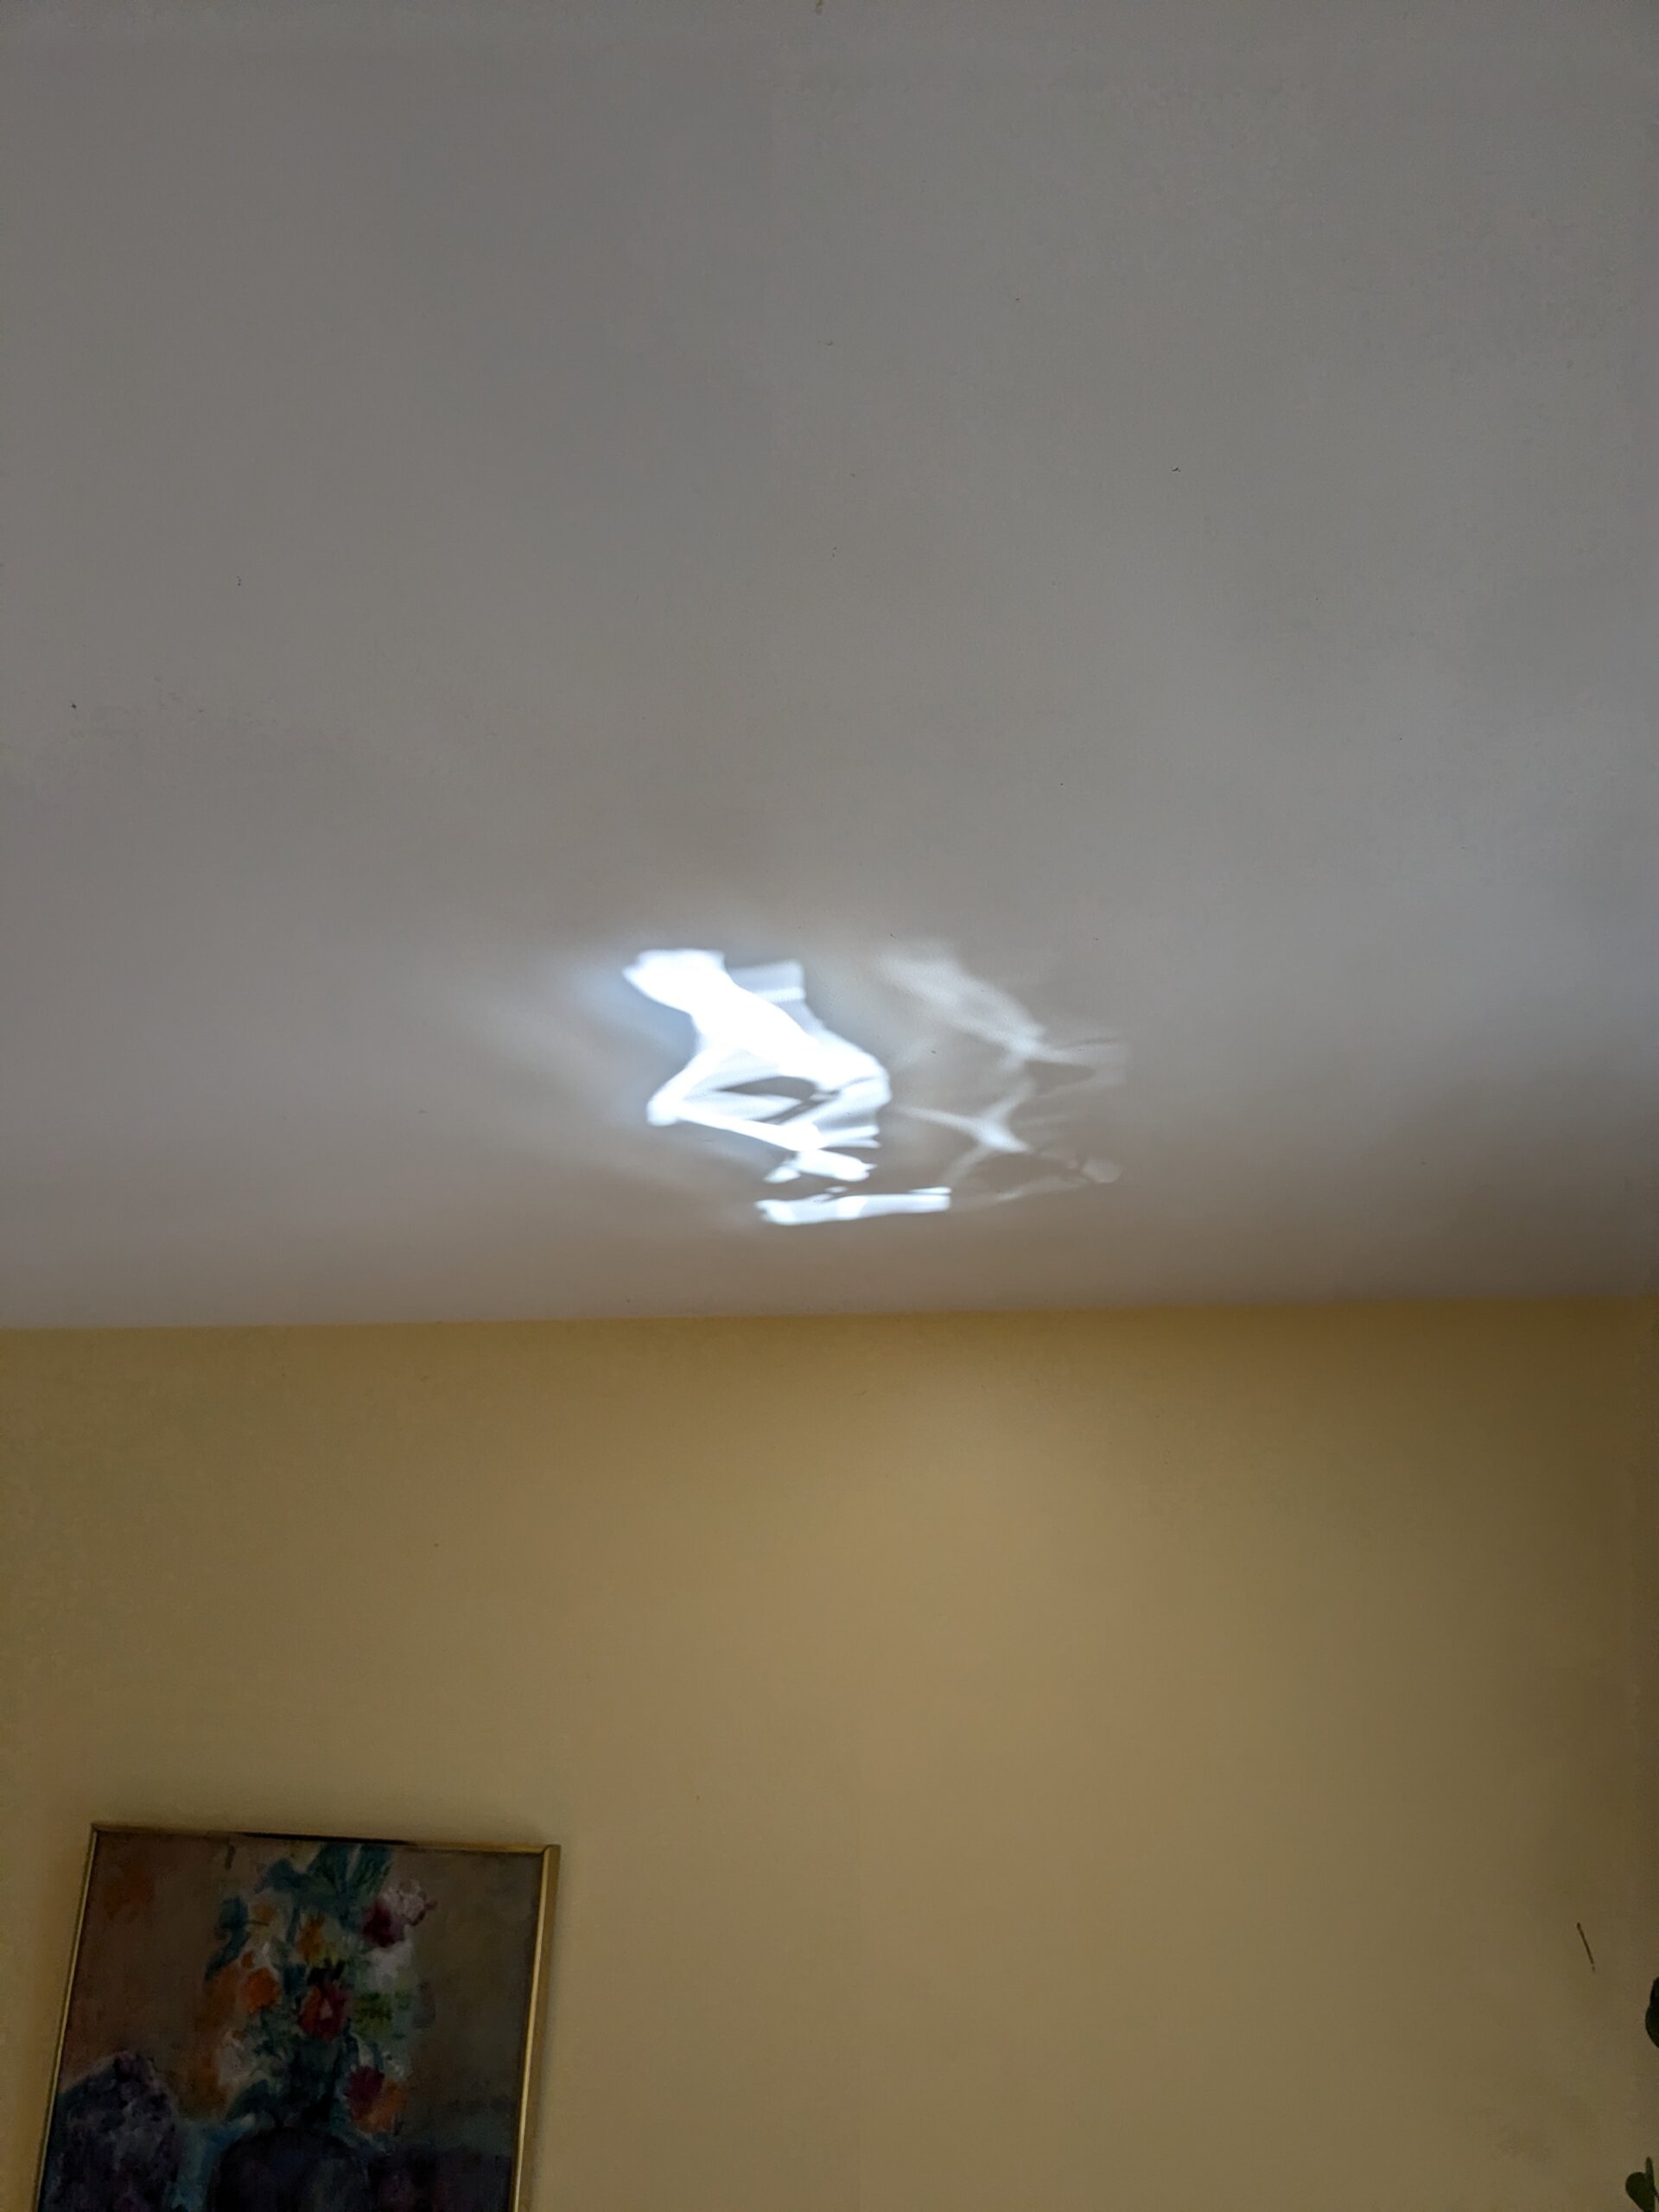
Sure enough, when the sun came out the next morning, a bright spot shone on my dining-room ceiling.
However, as the window sill is several inches below the actual glazing, a good chunk of the light was not going where it needed to go. So, for my second version, I adhered the mirrors to a piece of scrap 2X6 and clamped that to the window sill, which got them closer to the window, but still not at the optimal level (and the clamps don’t look great as semi-permanent fixtures).
The reality is that, since windows have a wide variety of dimensions, an adjustable mounting device is called for. So I next decided to try a tension rod of the type commonly used for curtains, shower curtains, etc. I attached cable tie mounts to the bottoms of the mirrors, and tried to zip tie them in place before mounting the curtain rod at the appropriate height in the window-frame.
This seemed to be quite promising, except for the fact that the zip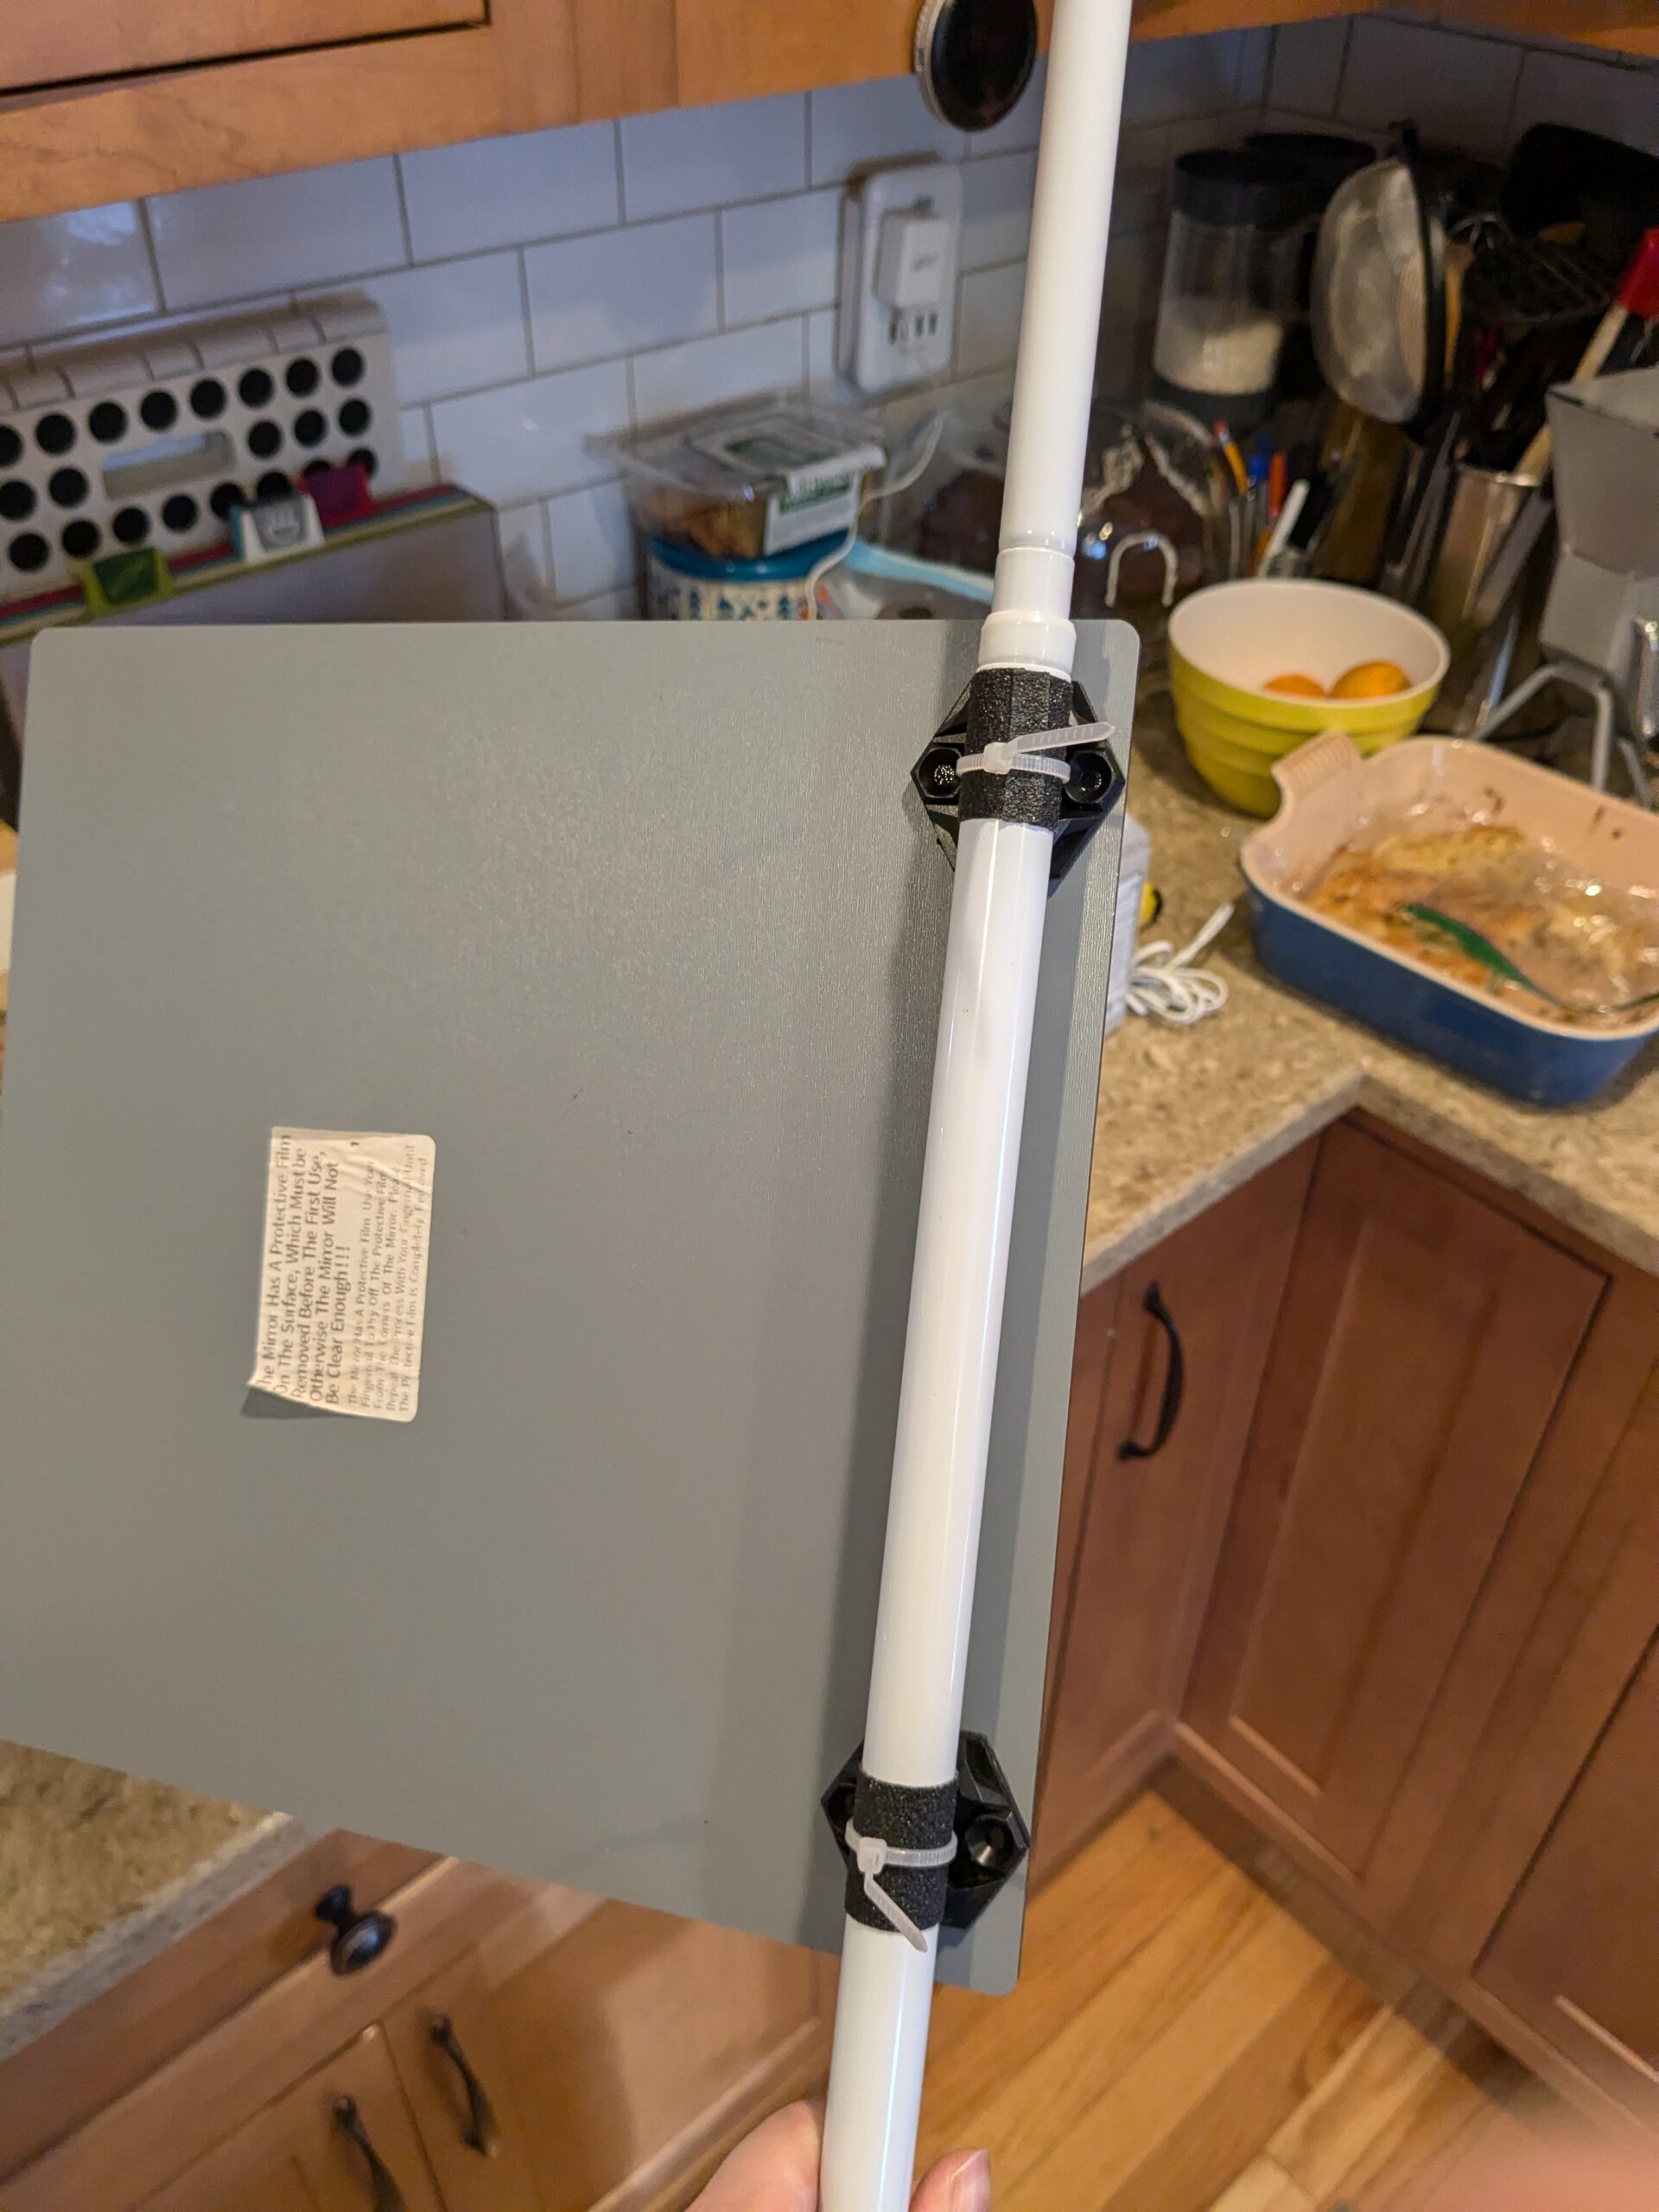 ties were not able to grip with sufficient friction to permanently “set” the mirror angle. Fortunately, a relatively simple solution is sold by the foot at my local hardware store: traction tape of the sort used for making stairs grippy. After wrapping the appropriate points on the bar with this tape, the mirrors were able to hold their position. The limiting factor at this point is the amount of torque the tension bars can sustain from the mirrors cantilevering off of them, which is influenced both by the bar’s design and the width of the portion of the window frame it is lodged in. At this point I’ve not determined the maximum load for my bars, but have been using 2mm thick 6”x9” acrylic mirrors which are quite light and have been working fine.
 Now that the basic model is more-or-less dialed in, my next goals for this project are:
- A design using a second tension rod at the top of the window-frame to provide additional support for a larger/heavier mirror via a wire/pulley system.
- A design for a permanently-mounted version that swings up (possibly automated) at night forming an insulated half-shutter, thereby decreasing the glazing loss in addition to supplementing the solar gain.
In the meantime, the basic recipe for a “mirrored window extender” with some annotations:
Materials List:
-
- Adjustable tension rod. Look for a rod where the adjustment happens at the end rather than in the middle, so as to maximize the amount of the rod that remains in a fixed position when you mount it. For the same reason, try to match the width of your mounting point to the low end of the tension rod’s length range.
- Mirrors. I have found success with the acrylic 2mm thick mirrors that you can get cheaply on sites like Amazon and AliExpress.They are just thick enough to not require additional structure like the self-adhesive ones do, but extremely light compared to glass mirrors. Thus-far I have successfully used 6”x9” and 12”x12” mirrors.
- Cable Tie Mounts. I mount two per 6”x9” mirror near the edge of the 6” side. You generally need to clean the surface of the back of the mirror with rubbing alcohol before adhering the mounts.
- Cable Ties. Can be short, make sure they fit your mounts.
- 1” Wide Grip Tape. I have been adhering the cable tie mounts to the mirrors first, then using them to line up the exact placement of the grip tape on the tension rod.
Instructions:
- Measure the part of the window frame where you plan to mount the window extender and obtain an appropriately sized tension rod.
- Determine the length of the portion of the tension rod that does not need to be rotated in the mounting process, and figure out how many mirrors can be mounted to it in that space. The last mirror before the rotating portion can overlap the rotating portion a bit so long as all mounting hardware is on the stationary portion.
- Clean the areas on the backs of the mirrors where you plan to adhere the cable tie mounts with rubbing alcohol.
- Once the alcohol dries, measure and mark the edges of where the cable tie mounts will go. For 6”x9” mirrors, the outside edge of each cable tie mount is ½” from the outside edge of the mirror, and flush with the bottom of the mirror.
- Lay out the mirrors on a table, and use them to determine where to wrap the tension bar with grip tape.
- Use zip ties to attach the mirrors to the tension rod. Keeping the mirrors laying flat face down on the table during this step helps ensure that they are all attached to the rod at close to the same angle.
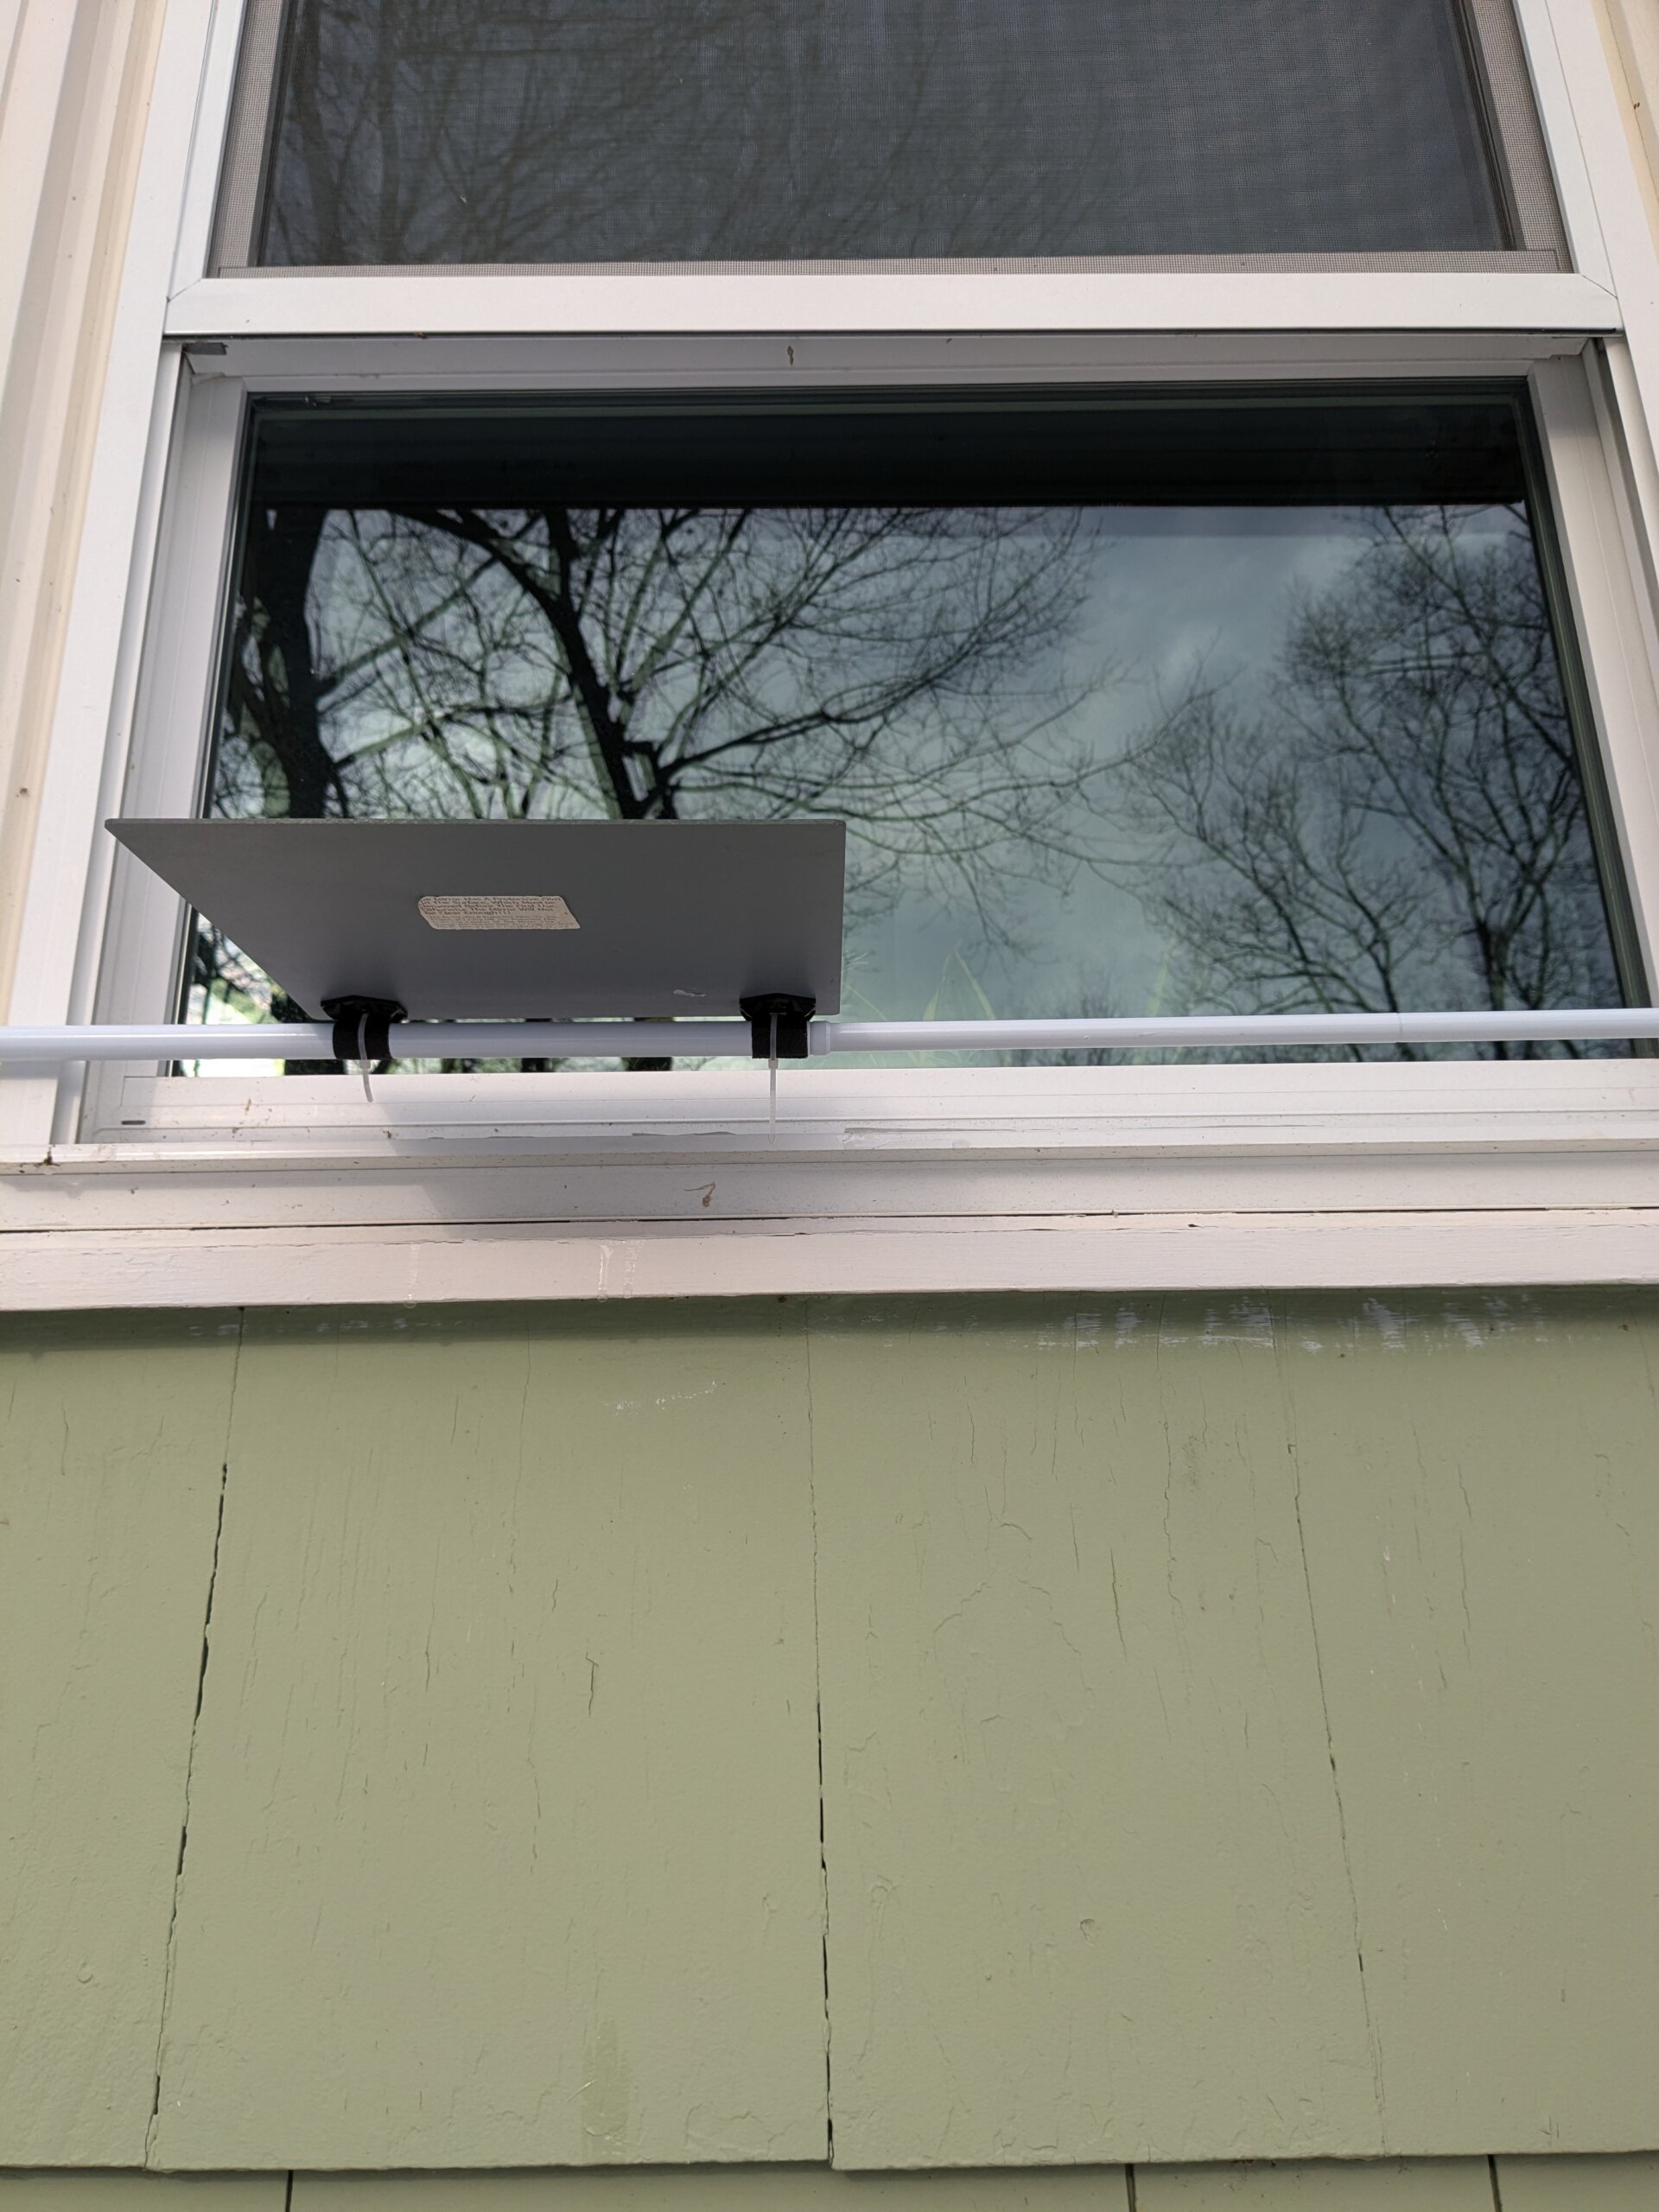
- Mount your rod to the window frame. The ideal location is at, or just slightly below, the bottom of the window glass. Angle the mirrors down about 10 degrees so that water drains away from the window-frame, and so reflected sunlight is directed more towards the ceiling than into peoples’ faces.
Miscellaneous Considerations:
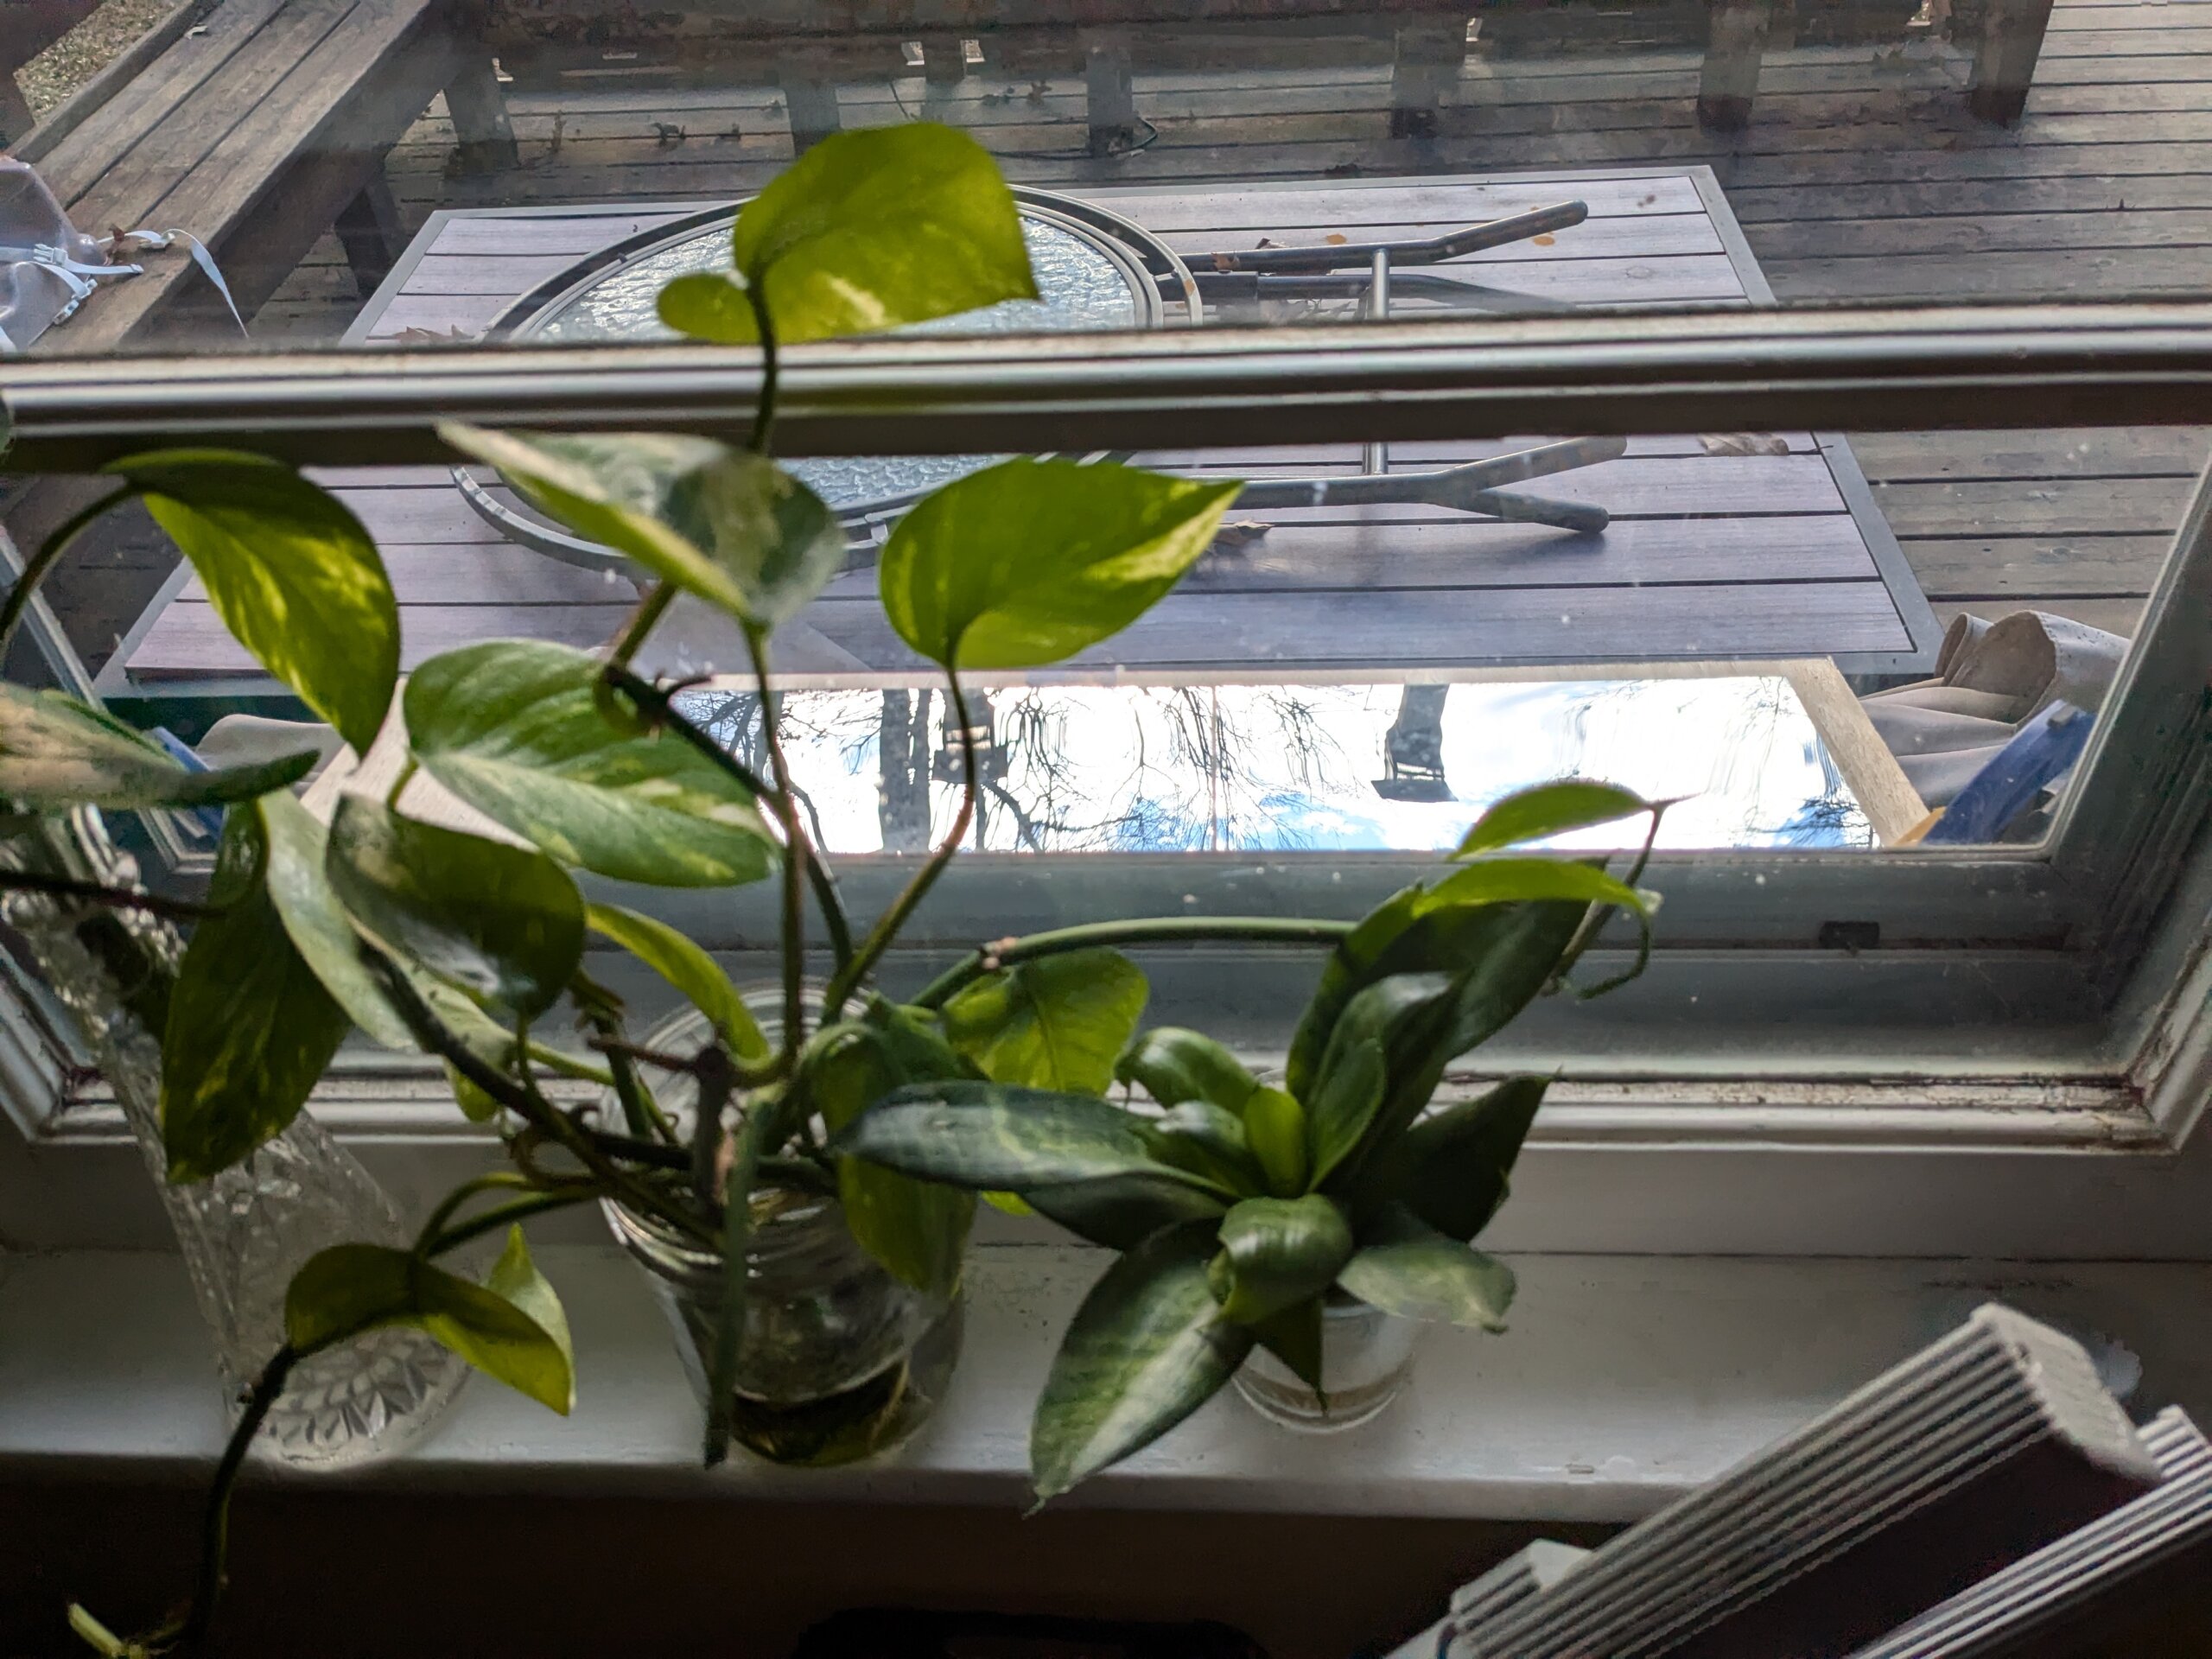
- Beyond heat, the upward angle of the light is great for hanging plants near the top of a window. My pothos seems pretty happy with it! As am I in the mid-winter when, at our northern latitude, I’m pretty sunlight starved…
- Most modern windows tend to be designed with reducing solar heat gain in mind, with coatings that reflect a large portion of infrared heat. This makes them better insulators, but reduces solar gain. If you have your windows’ documentation, look for the “Solar Heat Gain Coefficient” stat. Modern windows often have a coefficient of .3, meaning 30% of the heat energy passes throughg the window, while plain glass has a coefficient of ~.8-.9. As such, this tool will often be particularly effective when mounted on older windows made of uncoated glass. I have one set of single pane windows with storms in my house, and I can feel the difference standing in the sun in that room versus a room with modern coated double-pane windows.Math-wise, if you want to calculate how much energy your mirrors are providing, the formula is:
1000 watts x square meters of mirror x reflectivity coefficient of mirror (~.9-.95) x Solar Heat Gain Coefficient = watts of energy captured in full sunlight per hour.
Happy building, and feel free to comment with your learnings if you decide to try to make your own!
Hey great ideas here! Hadn’t thought of this myself when I built the house in Boulder. Could have used smaller windows (with less heat loss) with reflectors added instead (increasing solar gain to counter the smaller size of the window). There is some natural reflectance occurring from the ground, but far less than the reflector would have provided. Occasional angle adjustment, snow removal (although snow reflects pretty well anyway), and cleaning needed for optimal performance. Nice work!
I love this idea! I’ll be trying this out to stave off the impending sunlight deprivation. Thanks for the info and stats. I built my house with lots of windows from the restore, I find the heat loss is worth the light gain.