This post is an excerpt/cross-post from a blog post on Zettelwirtschaft
April 28th, 2025 I finally gave in to my long coveting of the cylindrical Mac Pro. I bought one on eBay for $69, upgraded it to 12 cores and 128gb of ram and spun up a home AI server. I named it Jai. You can interact with him just like ChatGPT or Claude or whatever via a chat interface.
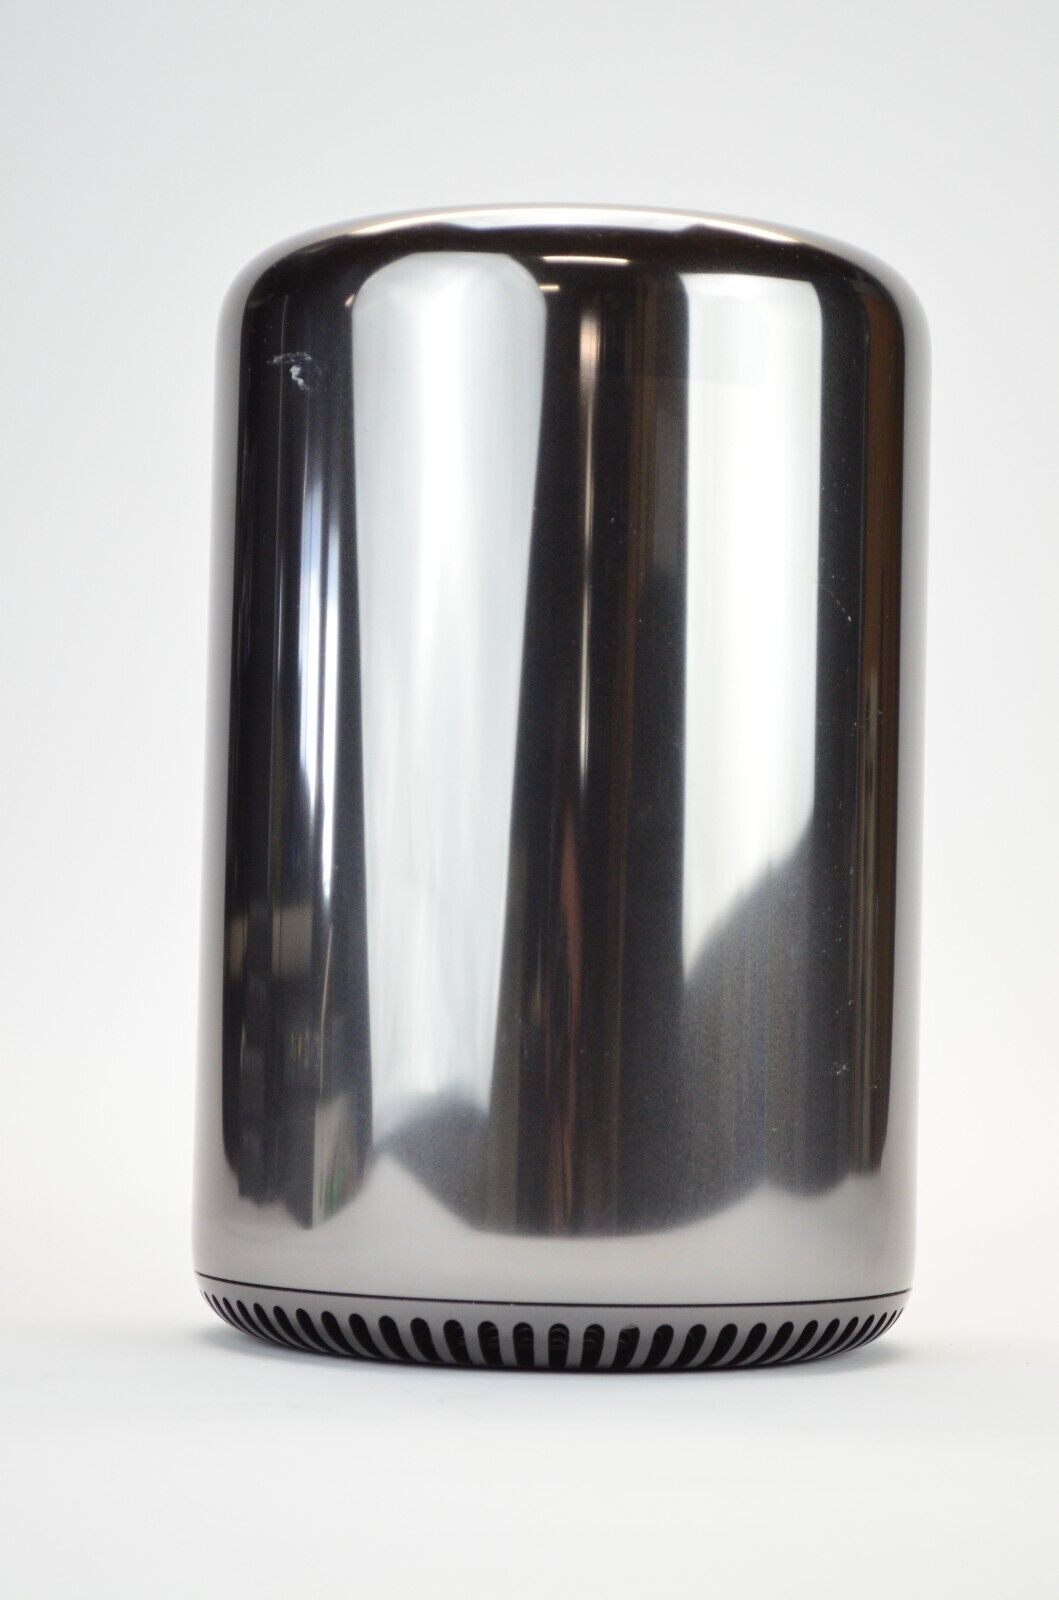
I am slightly obsessed with this computer; it’s so elegant. A silent steel canister, breathing warm air when he’s thinking. It feels like the egg of Hal 9000 or the warp core of a spaceship.
Local AI
A lot of the ills of the AI boom can be remedied by running an AI server at home. The energy consumption is way lower and during the winter it heats our home. There’s no data harvesting, all our queries stay in-house. We can run uncensored models, not limited by what CEOs think it’s ok to talk to AI about. And other than the hardware and electricity cost, it’s free! I love how many different models there are to play around with and how easy it is to swap them in. I still use Claude and Cursor but any query I think Jai can handle I send to him.
The world could do with more tech decentralization, including AI.

Vanitas
Jai lives atop a kinda gothic dresser with various objects arranged around him. My roommate-at-the-time Claire Bates remarked that it looked like a vanitas. So I searched “vanitas” which Wikipedia informed me,
Vanitas is a genre of memento mori symbolizing the transience of life, the futility of pleasure, and the certainty of death, and thus the vanity of ambition and all worldly desires. The paintings involved still life imagery of transitory items. The genre began in the 16th century and continued into the 17th century. Vanitas art is a type of allegorical art representing a higher ideal.
Wow, how true that is. So I’ve been leaning into it, developing dramatic analogies ad nauseum.
Technically
It’s funny that the 2013 Mac Pro has dual graphics cards and AI graphics cards are driving the mushrooming of the worlds most valuable company right now and… I’m not using either of them in my AI server! They’re too old. But the 12 core CPU is so far totally sufficient for inference.
The setup
Jai is running Debian. For some reason, for some models, the pipwrapper of llama.cpp runs faster than pure llama.cpp. I keep 3 models loaded in ram via screen and llama.cpp:
gpt-oss-120b
This is the larger of the two models released by Open AI this past summer. I think of this as the main Jai. I run it with these flags:
./build/bin/llama-server \
--model ../jai/gpt-oss-120b-F16.gguf   --host 0.0.0.0   --port 8000   --ctx-size 131072   --threads 22   --threads-batch 22   --batch-size 256   --ubatch-size 64   --cache-type-k q8_0   --cache-type-v f16   --mlock   --no-mmap --jinja
I get about 4 tokens per second with this which feels totally adequate for many requests. I’ve found this model to be quite capable to take over a good chunk of queries I would have sent to Claude. I give Jai coding tasks (such as the tribunal randomizer), SVG generation, rubber ducking whatever’s on my mind, generating spreadsheet formulas, bash scripts, being a conversational thesaurus, etc.
OLMo-2-0425-1B-Instruct-Q4_0
Olmo is a family of models released by Allen AI (started by Paul Allen formerly of Microsoft). I like that it is not only open weights but they released the training data and code as well. They have up to a 32B parameter model but I’m running a Q4 quant of the 1B version because it replies nearly instantly (25-30t/s) and takes up less than a gb of ram.
I refer to this one as “Jai wrong answers only”. I love the abstract shapes it renders when you ask for an SVG. And sometimes it gives me a legitimately decent answer!
Qwen3-30B-A3B-abliterated
This is an abliterated version of the Qwen3 model from Alibaba.
I like keeping a model around that will answer any question. Even gpt-oss wont answer questions about weed sometimes even when you tell it weed’s legal in Vermont. This model is not as fast or smart as I would expect for a 30B model but it’s good enough.
Other models
I’ve played with GLM Air and it was really powerful but I got upset when I hit up against the limitations of Chinese censorship. I felt I had to stop using it on principal. But I might see if I can finagle the new Kimi 1 trillion parameter model for coding and keep other models around when I want to talk about Tianamen Square.
Open Web UI
Each of these models is connected to Open Web UI also running on Jai via screen. I have Open Web UI linked to SSO so anyone with a Bindle Institute login can access Jai. I didn’t want to deal with the security implications of opening this service on the public internet so it’s only accessible within my home network at http://web.jai.
Open Web UI is a remarkably powerful Open Source web client for LLMs; I haven’t even scratched the surface of all the features it has, like tool-use and audio interaction. In terms of UI I don’t feel I’m missing anything compared to the big AI platforms.
Email responder
The initial premise was for Jai to reply to emails. I vibe coded a python script with Claude and now Jai has his own email address. Interacting with AI via the familiar email interface feels more human than a web chat gui. Having to wait hours or days for a response to an email is a cadence we accept from other humans, so why not AI? Being able to CC Jai into an email thread with multiple people is a unique AI interaction mode.
During the art opening for Jai I had my giant CRT media cart display just the <thinking> output from Jai when he receives an email. I think it’s interesting to reveal so publicly the thoughts someone is having while writing an email.
And that’s all for now! More updates about Jai will appear on Zettelwirtschaft and maybe also here.
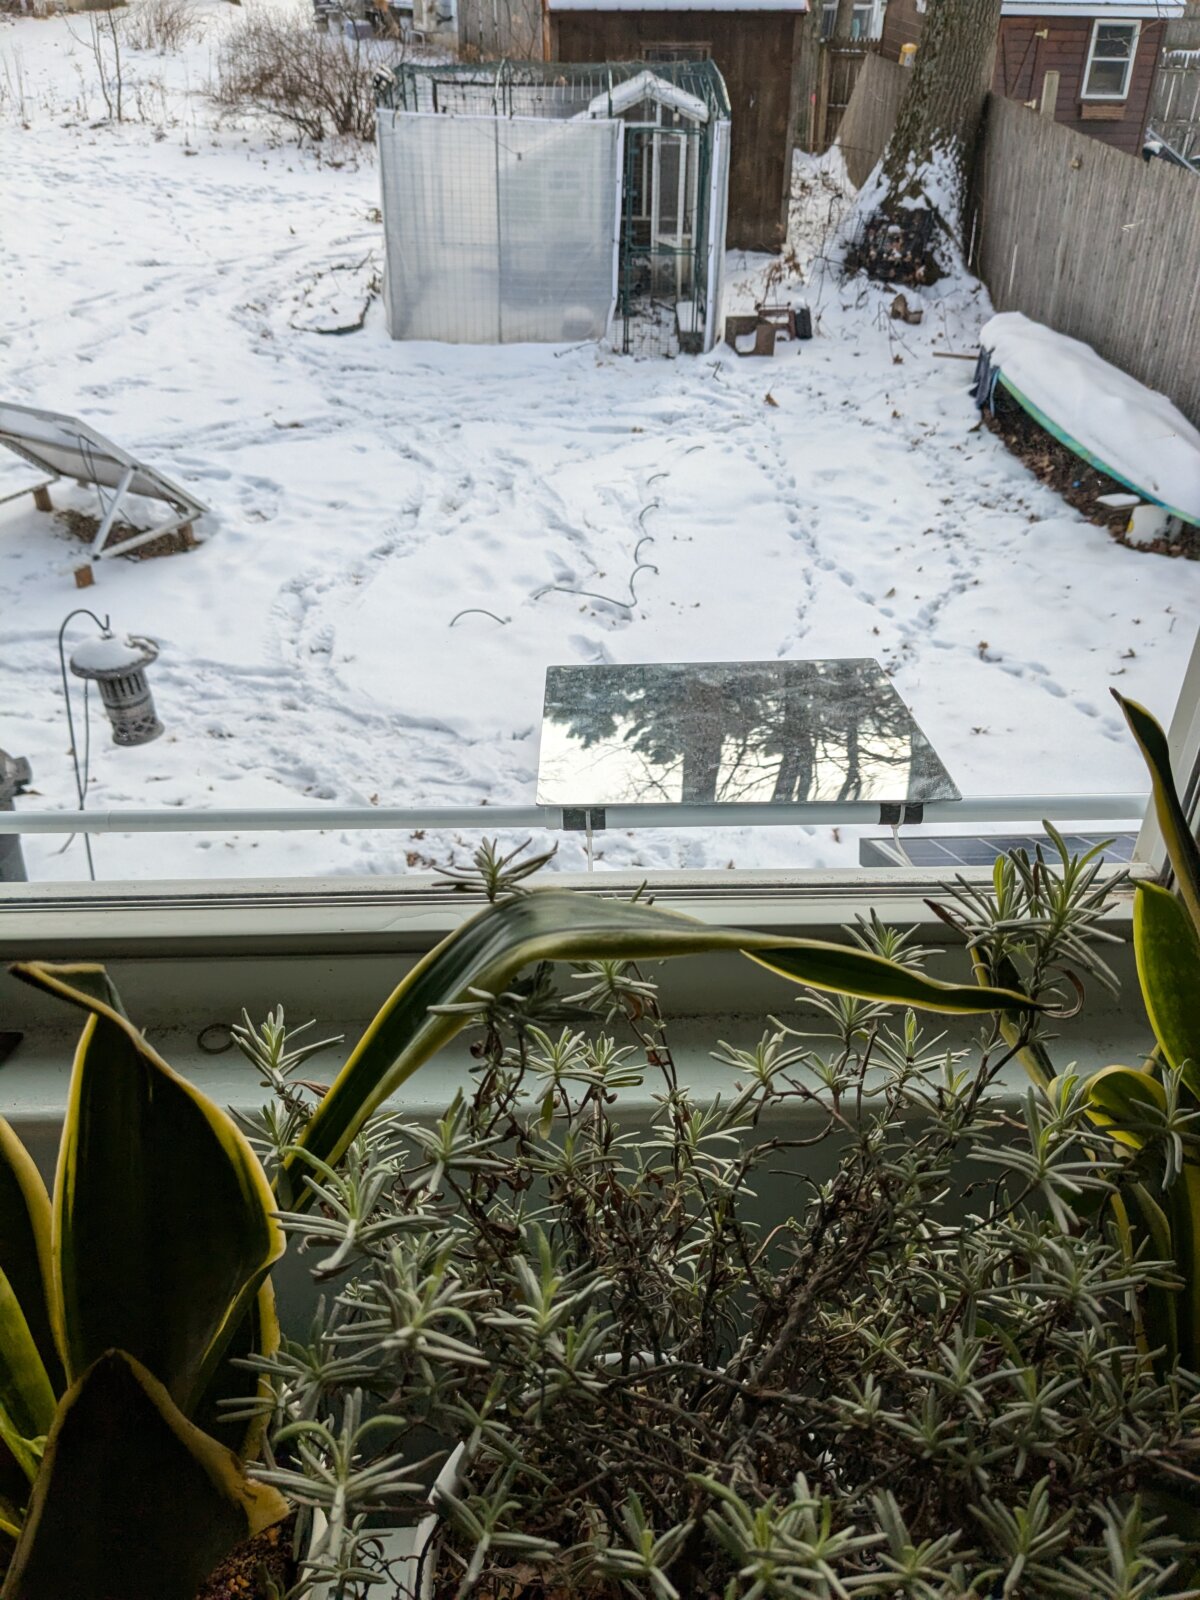

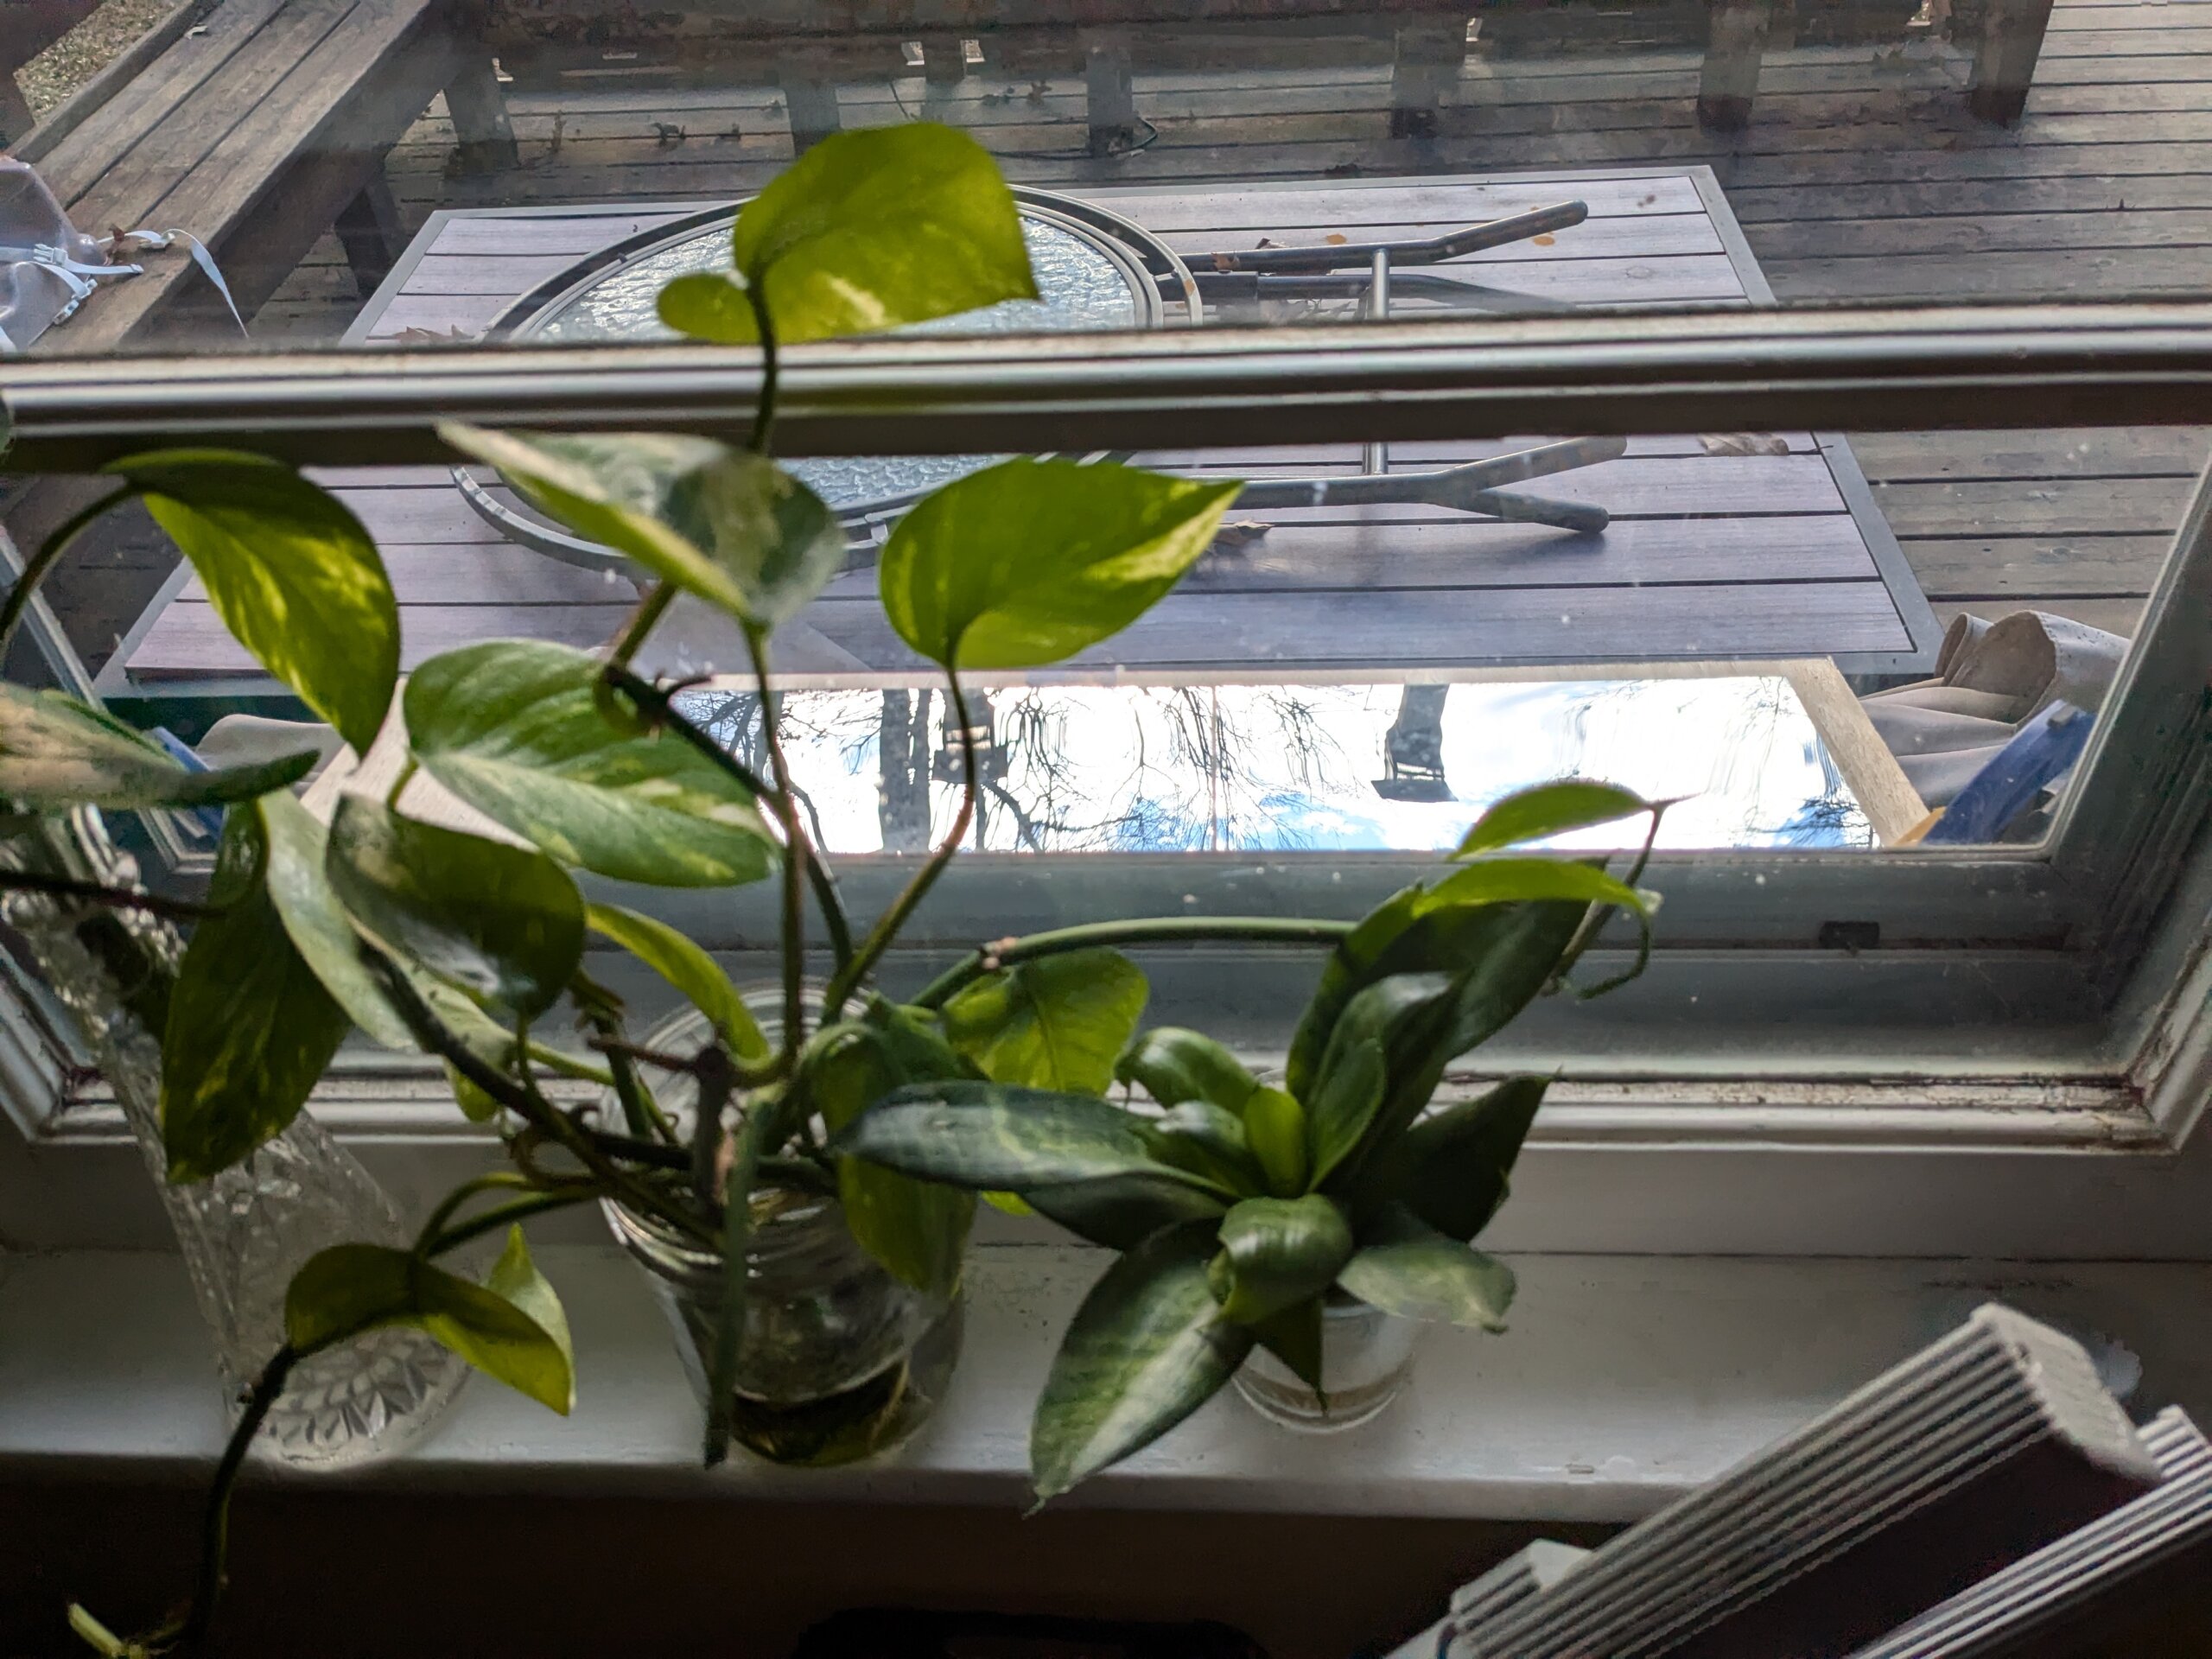


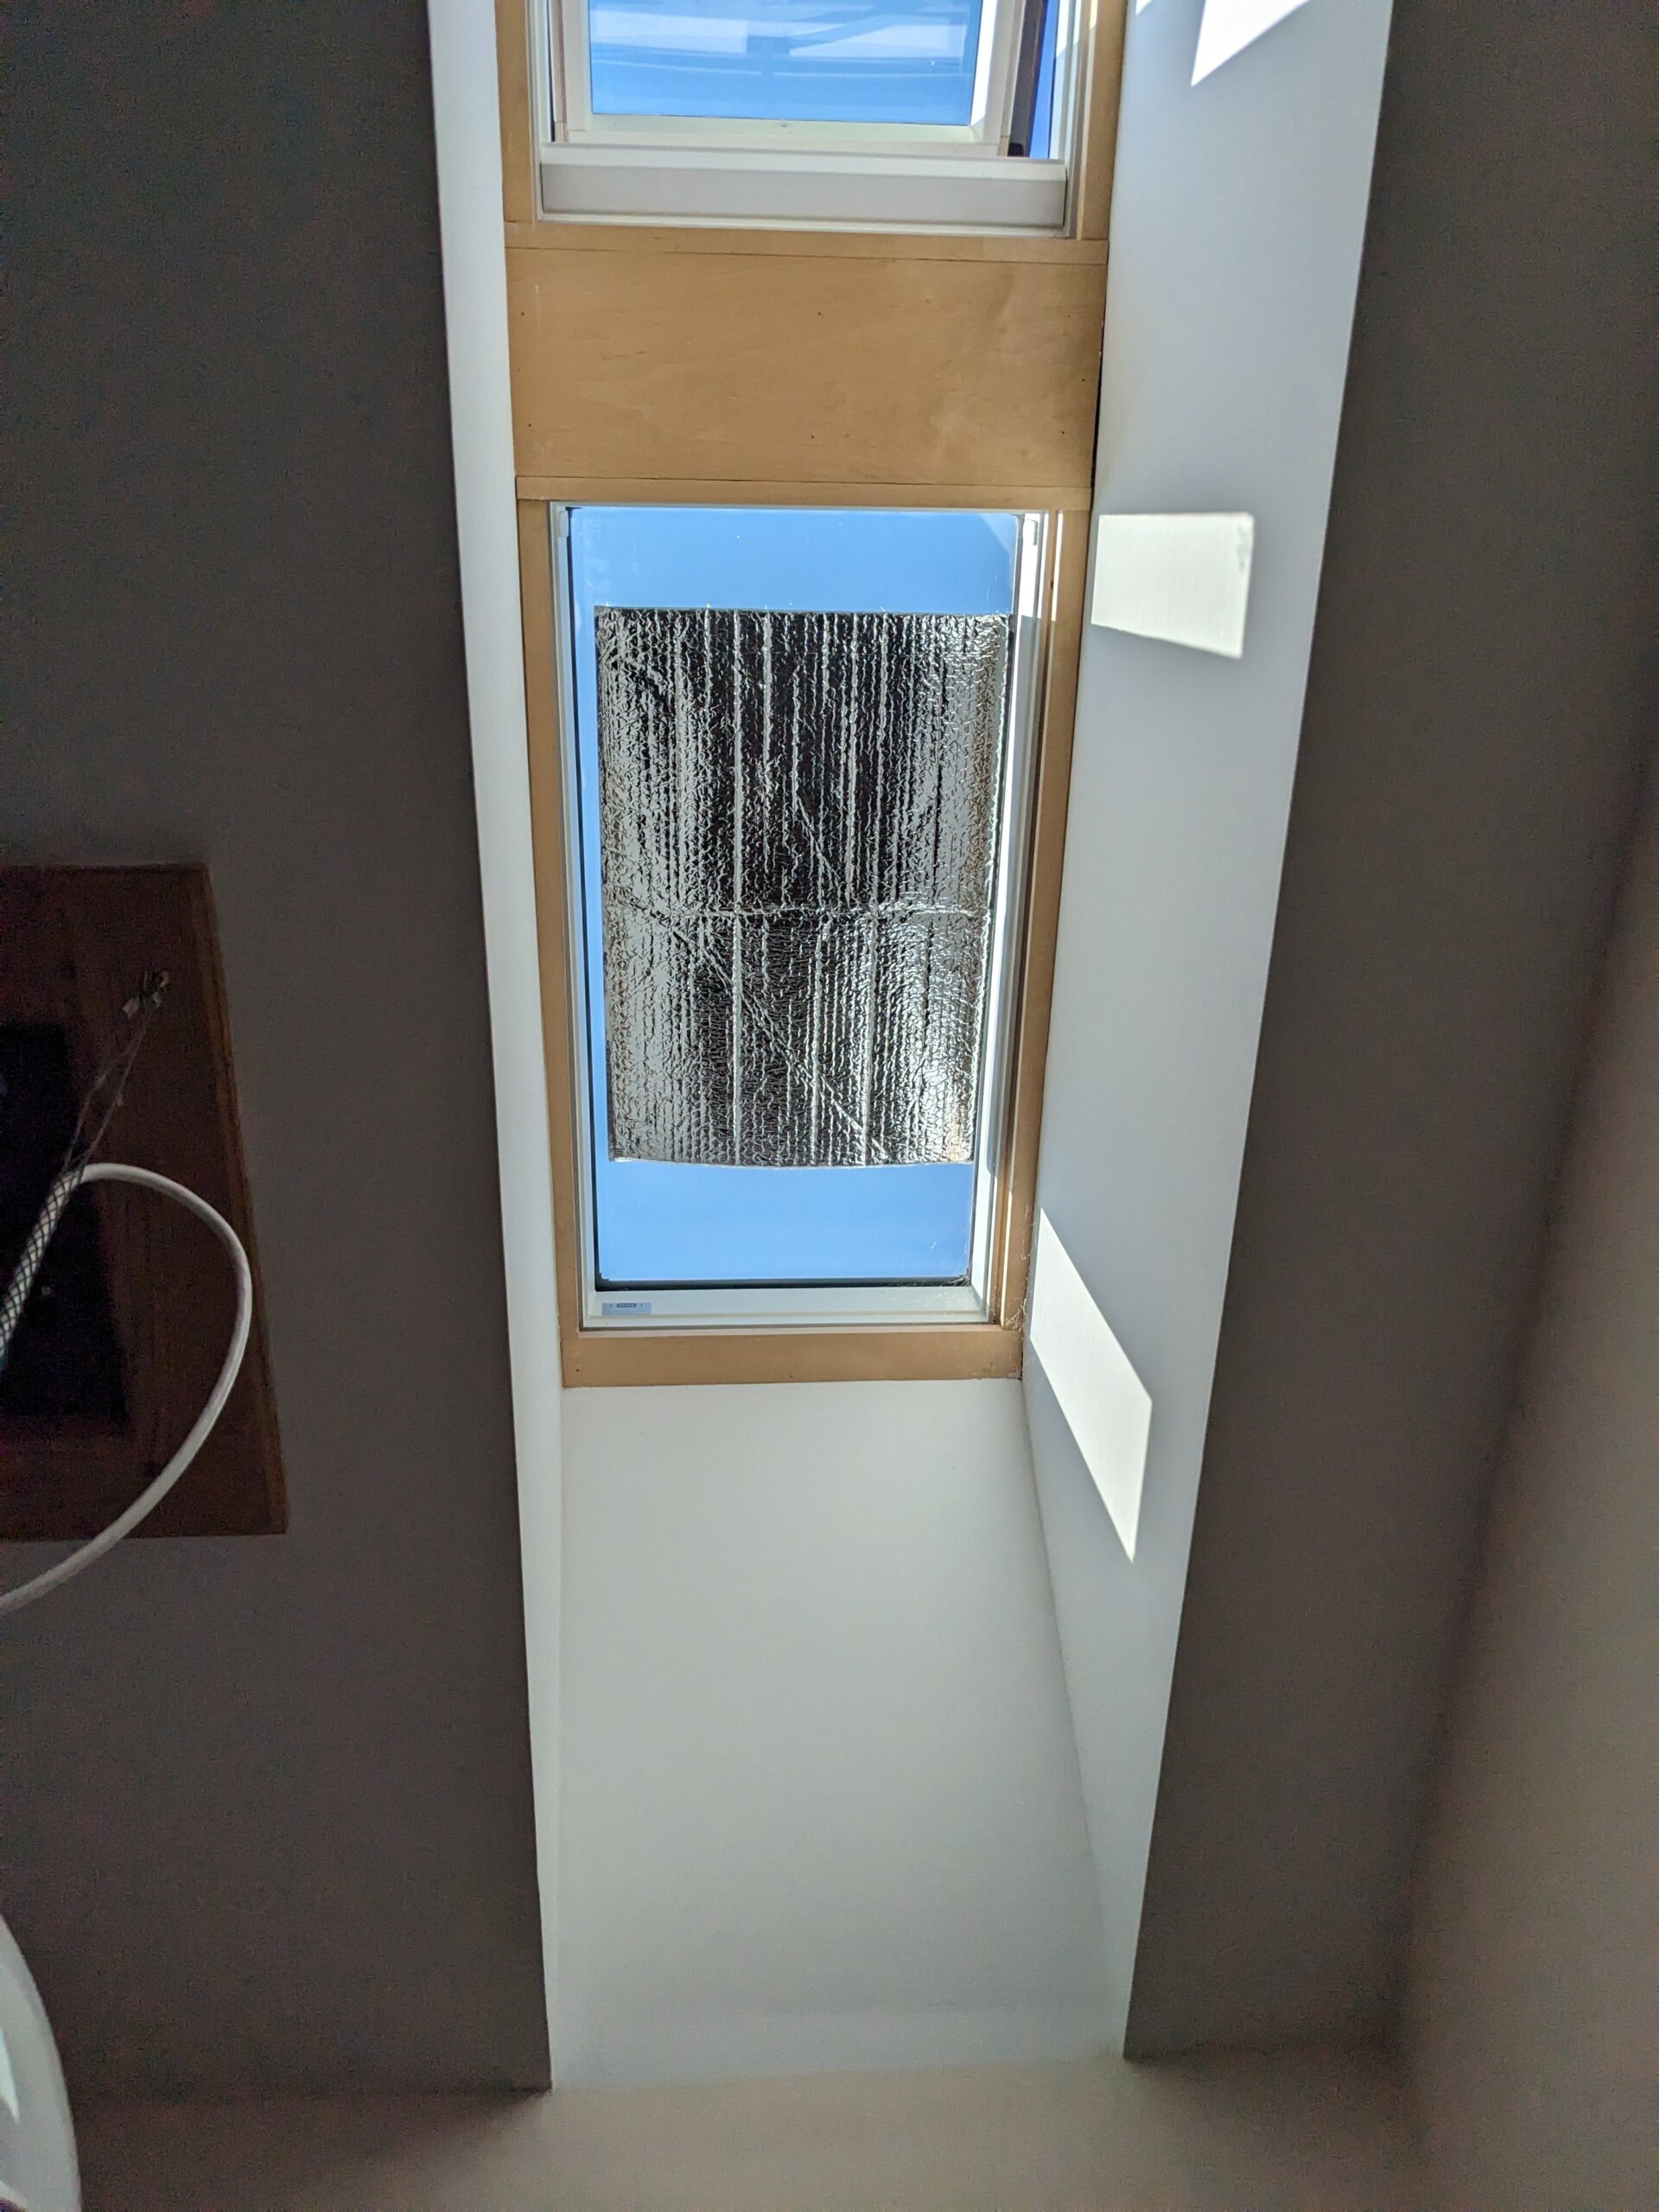
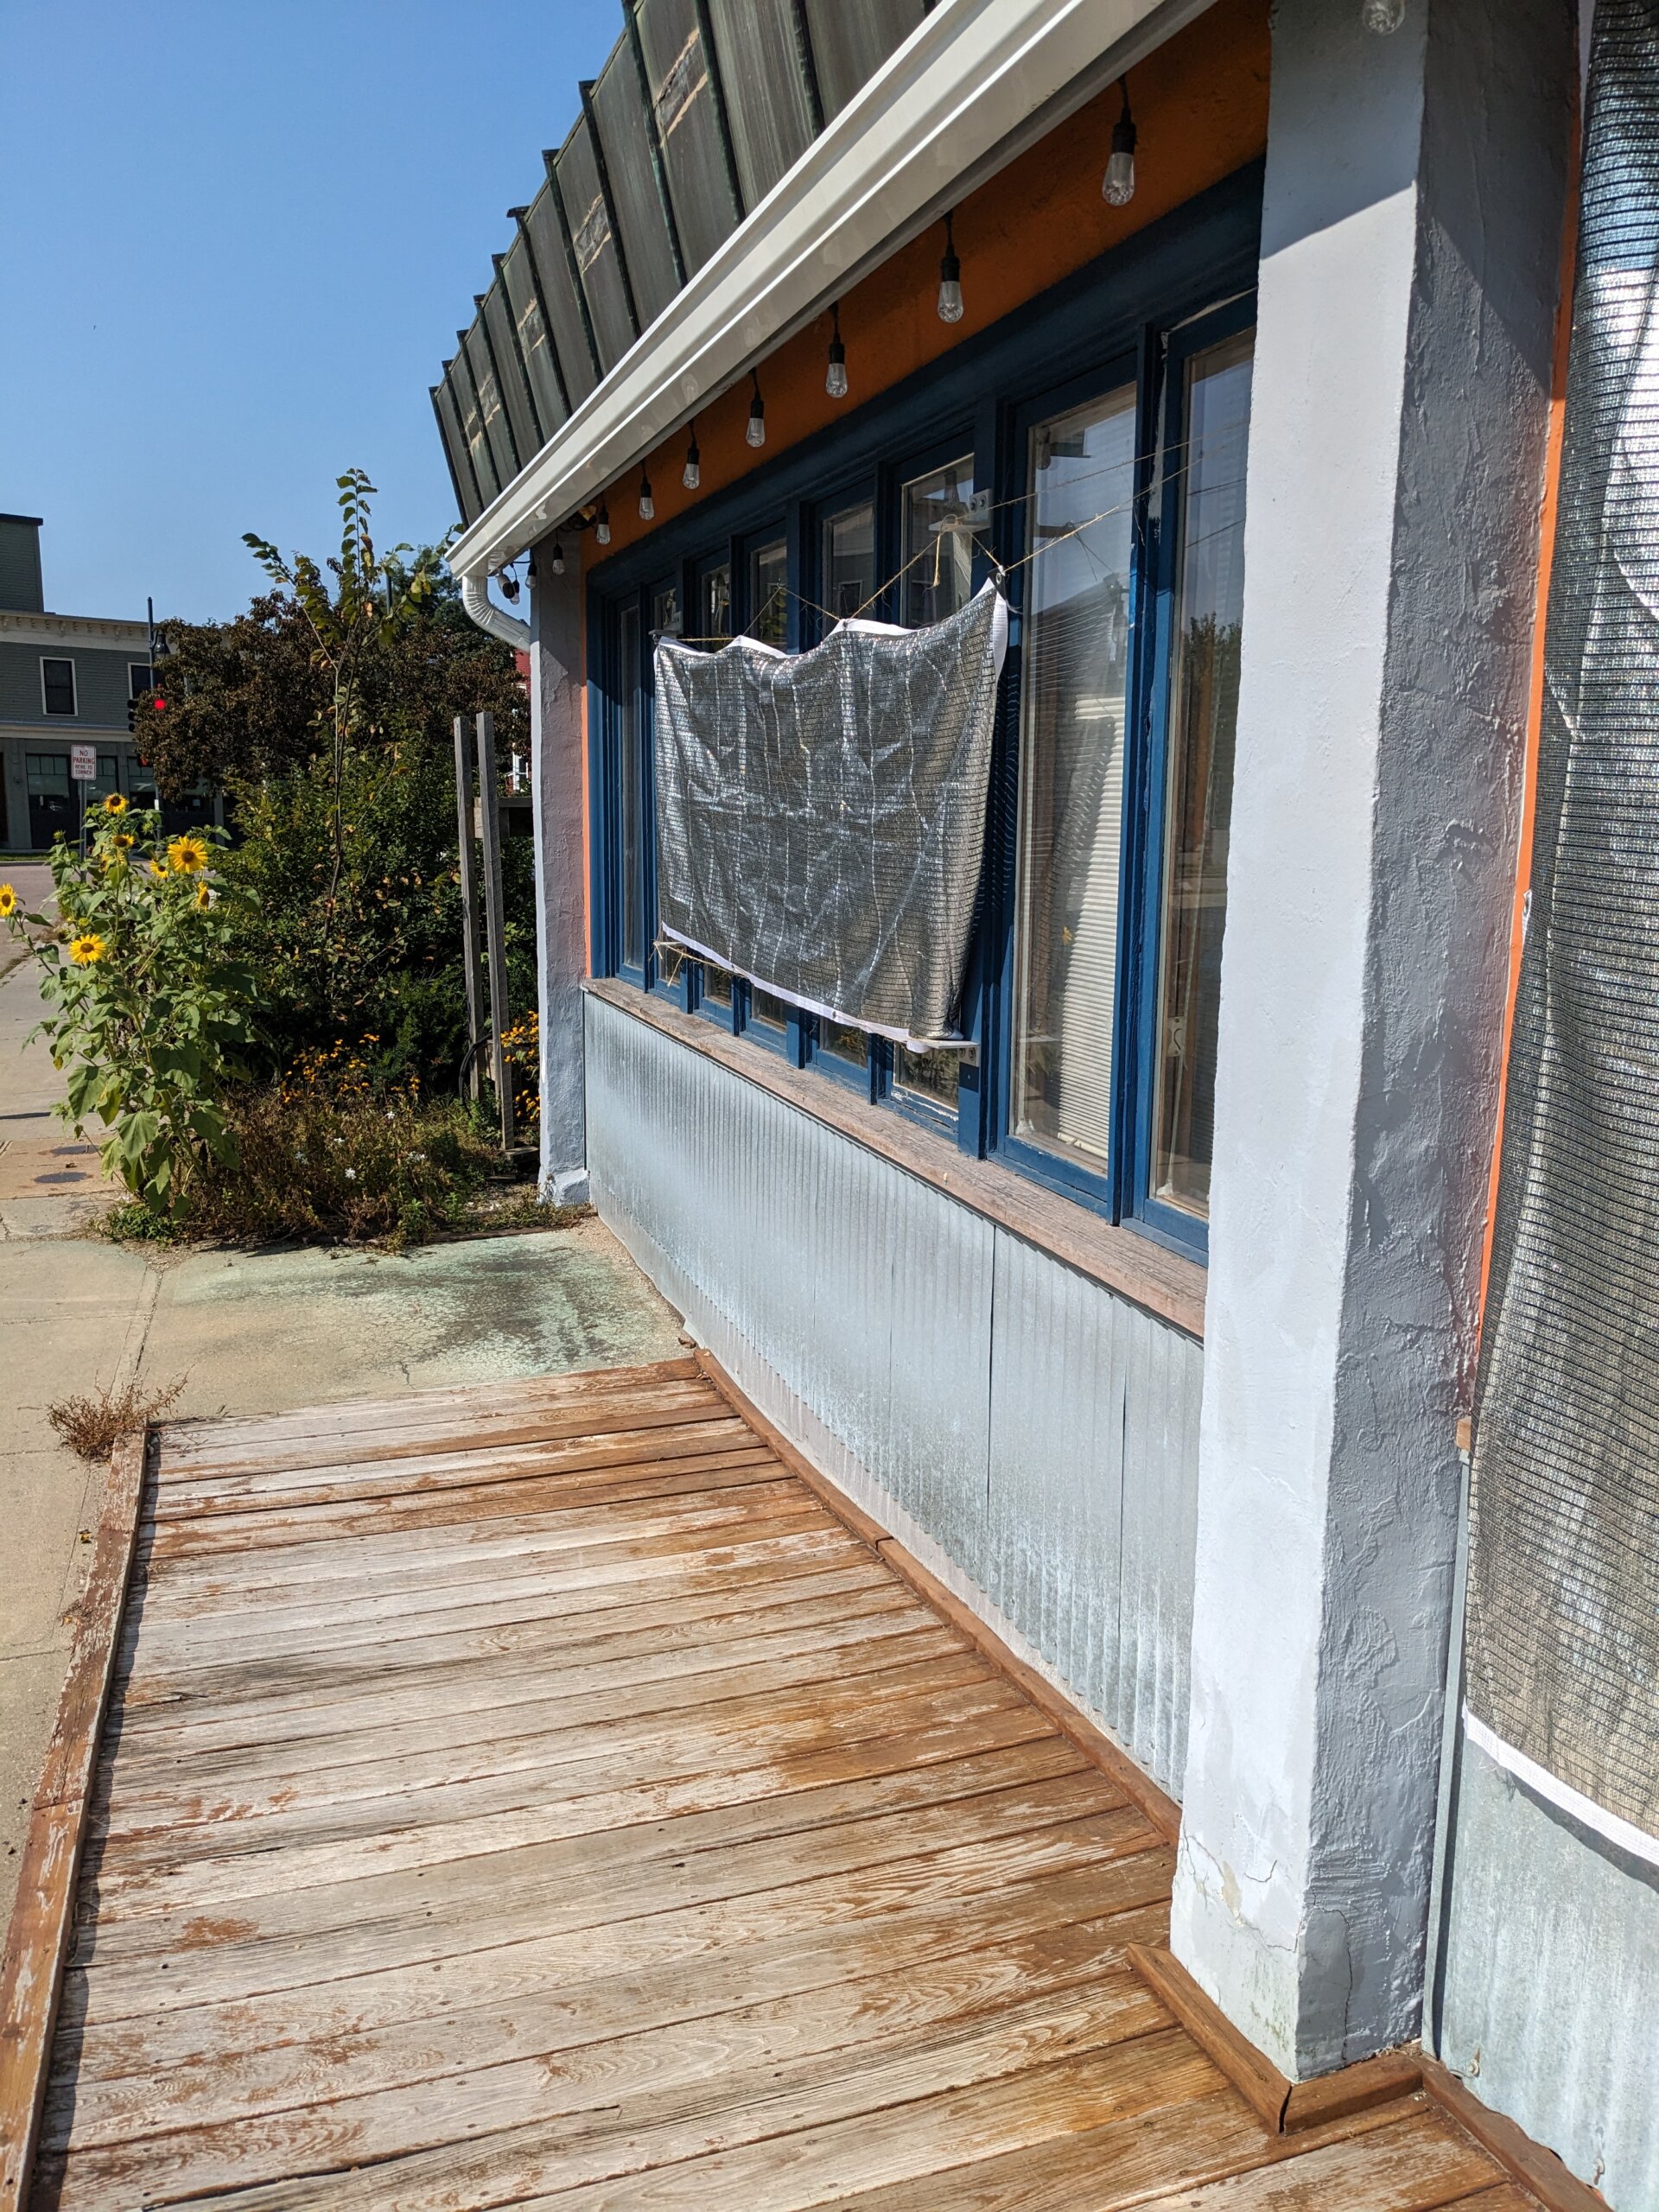
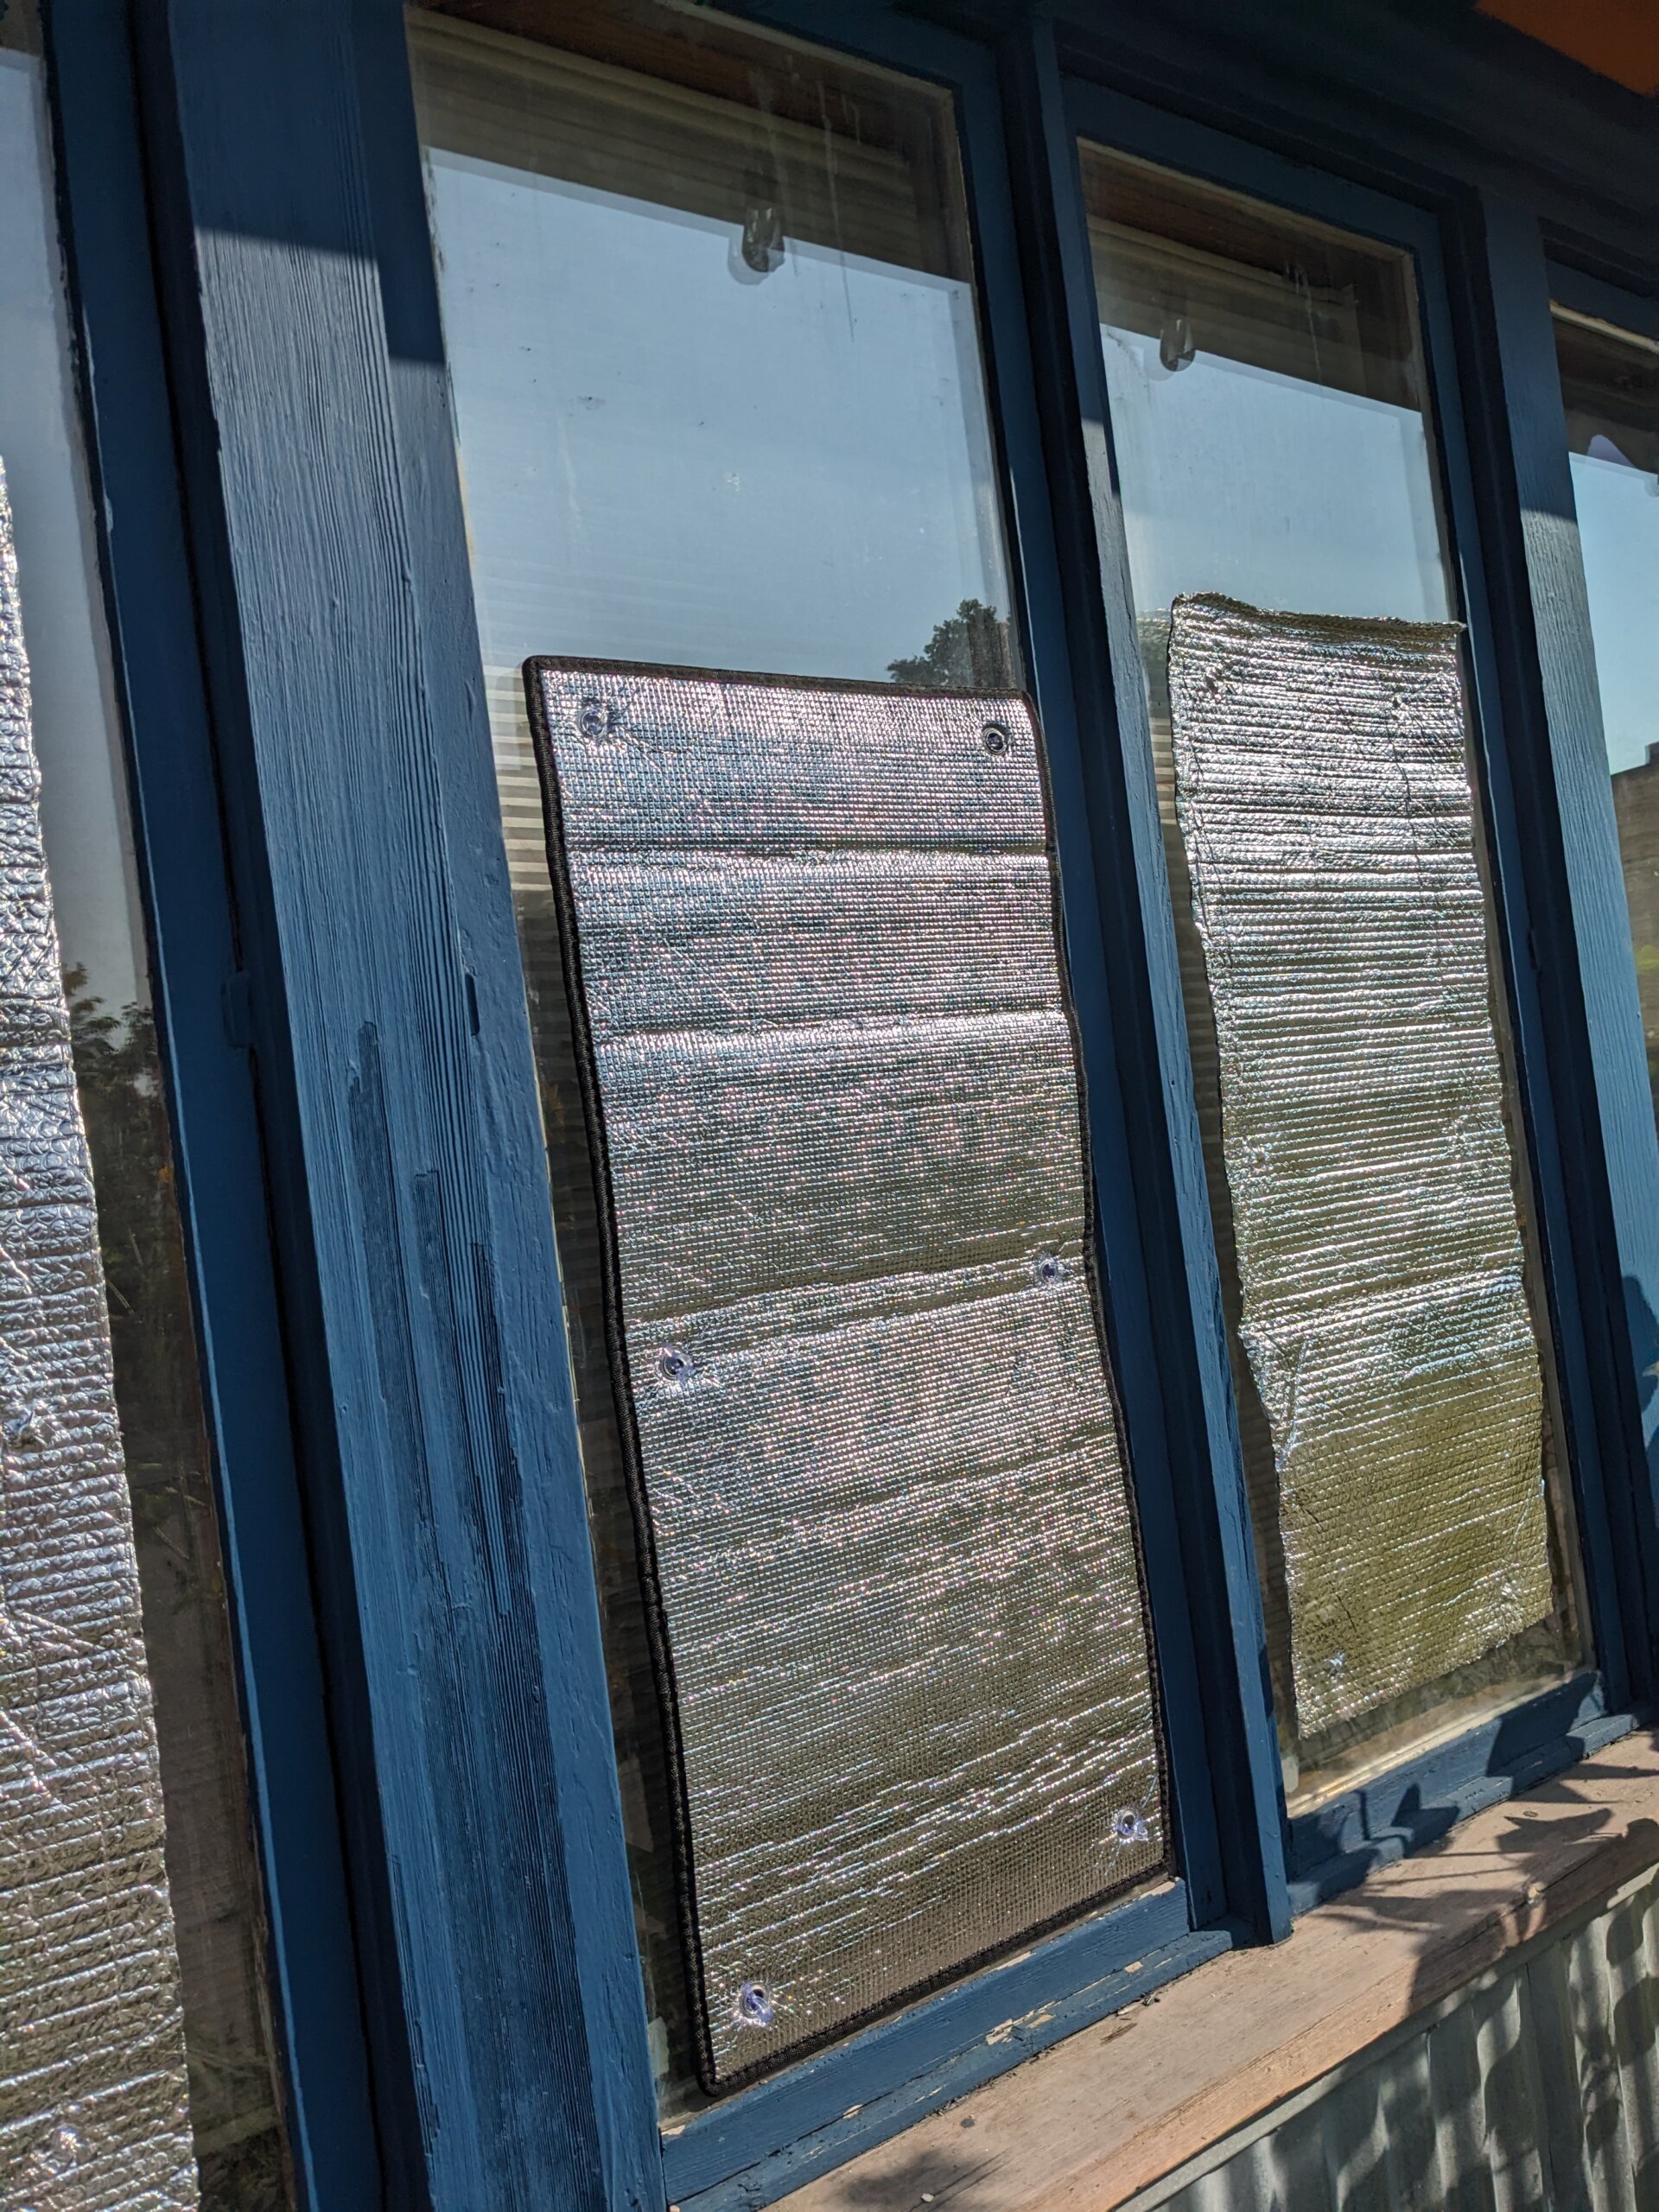
 The portable A/Cs took some of the edge off, but were clearly insufficient to get and keep the building at a comfortable temperature, particularly with “Earth’s Hottest Summer on Record” heat waves rolling in. So, in addition to our machines desperately pumping heat out of the building, we needed to figure out ways to minimize the heat coming into the building (