Jesse unveiled the finished product in a previous post, and it does look awesome. Here are some photos and a simplified and incomplete account of how we got there. Disclosure, this took place off-campus of Laboratory B as we do not currently have the tools on-site.
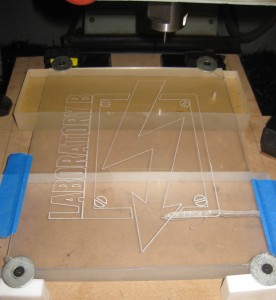
This sign was created by etching a sheet of acrylic and then edge-lightning the result. The etching is basically a shallow cut that causes light in the material to reflect out. The cutting was accomplished using a computer numerical controlled (CNC) milling-machine.
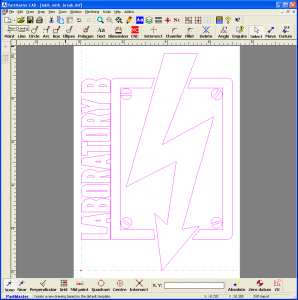
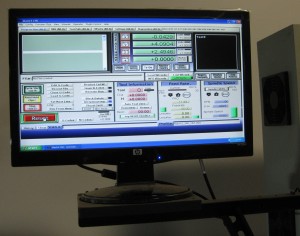
First, we started with a high-res version of the Laboratory B Lightning Bolt (credit to Brenton). This was imported into a program called PartMaster and converted to a .dxf file. From this CAD file, we asked the computer (nicely) to generate G-code. G-code is what we needed to describe to the CNC machine how to move the cutting bit and etch the material. The CNC machine is controlled by a program called Mach3 CNC. This software reads text file containing the G-code and interfaces with the milling-machine to move the XY table and the drill head (Z) in order to accomplish the cut.
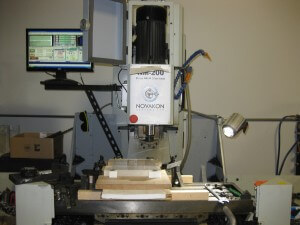
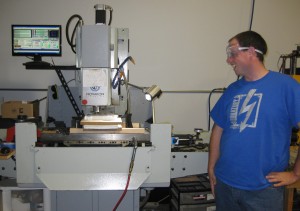
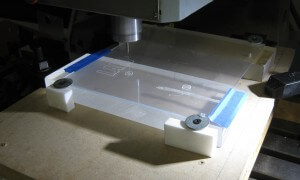
The milling-machine we used for this project was… a little too big. We wanted to use the whole 10″ x 8″ sheet so we used the big machine, but since it’s not a router, it is normally used with R8 Collets…. the point is, the chuck we used to hold the etching bit was too short. You can see in this next photos that we couldn’t reach the table and had to add some height to the mounting of the acrylic. Once this was done, we “zeroed” the machine. This is a process where we tell the Mach3 software what the location of the material to be cut is, so that it moves everything into the right place at the right time. Then we hit “START” and watched! Action shots follow, complete with my watching through my safety goggles.

 In the past few years we’ve seen hackathons and makerspaces spread across the state as creative ways to solve community problems and catalyze collaborations across sectors. Join Burlington